How to Get Around Japan: A First-Time Visitor’s Guide to Trains, Suica Cards, Google Maps & More
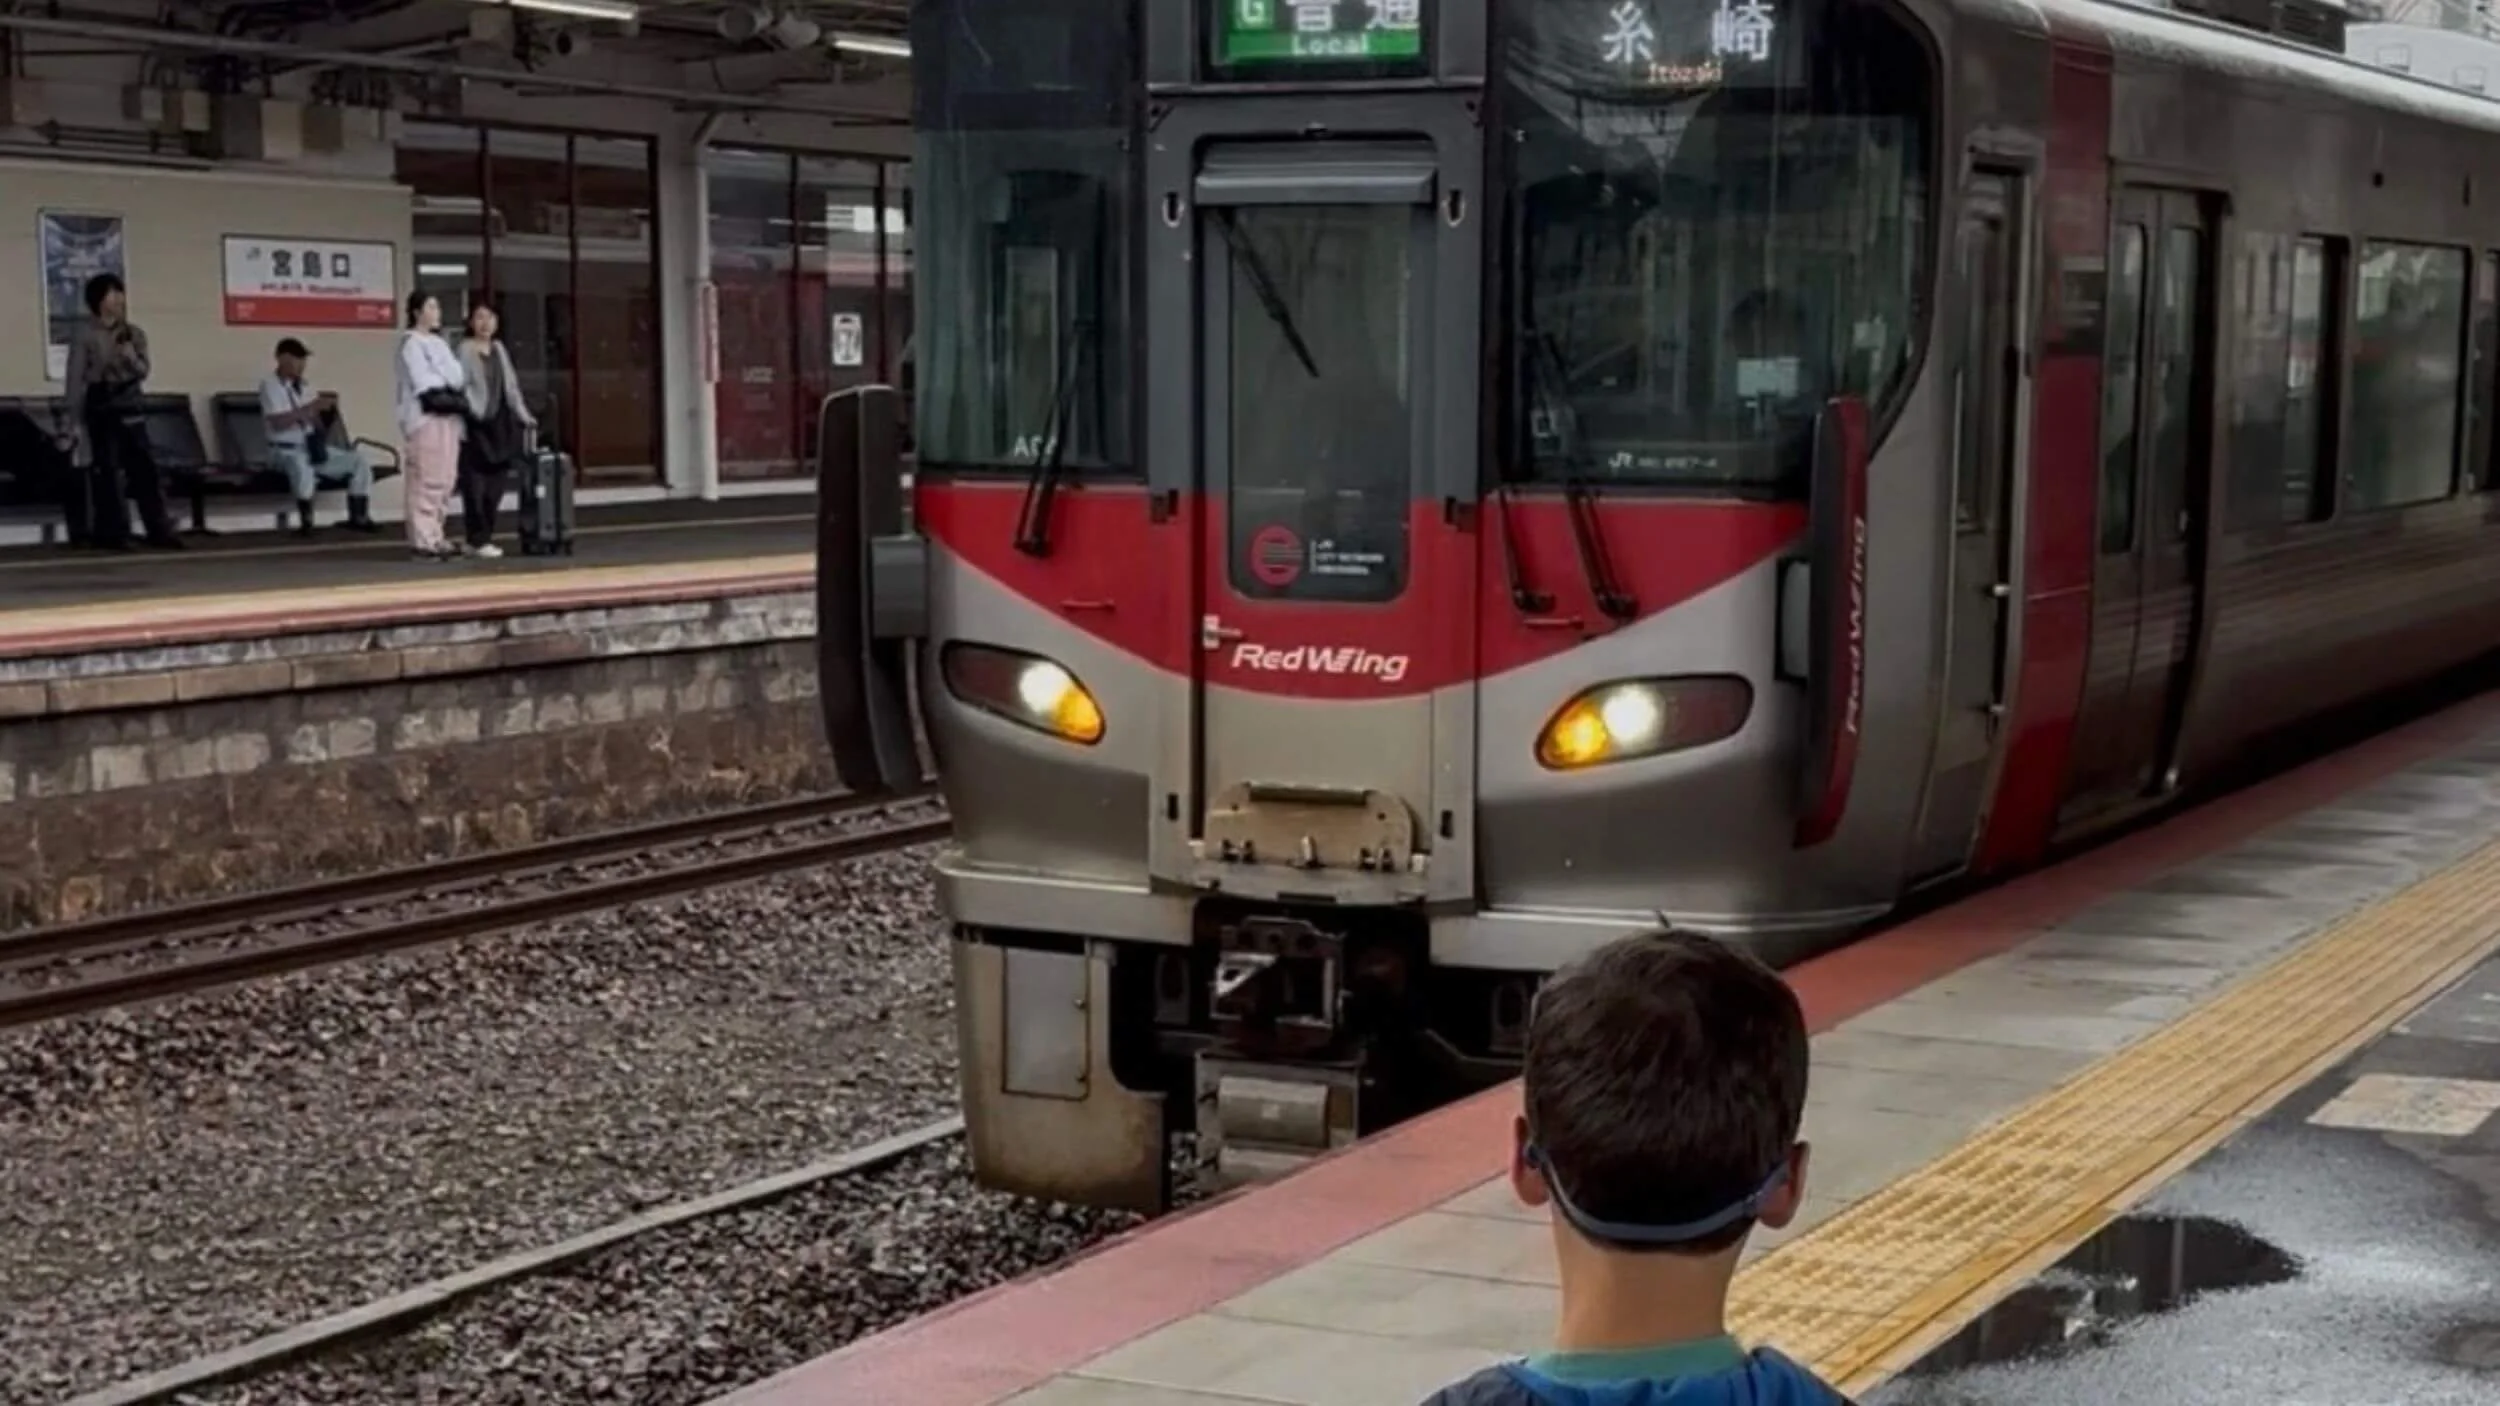
Trains ended up being one of the easiest parts of traveling through Japan. Far less intimidating once you're actually standing on the platform.
Traveled late May/Early June. This post contains affiliate links. If you book or buy through them, we may earn a small commission at no extra cost to you. As an Amazon Associate, we earn from qualifying purchases.
We were admittedly pretty worried about navigating Japan’s train system prior to arriving. We live in an area where we drive everywhere, so the thought of navigating trains, subway stations, transfers, and bullet trains in another country felt overwhelming.
After spending 14 days traveling through Tokyo, Hakone, Kyoto, Hiroshima, Miyajima, Nara, and Osaka, we can honestly say transportation by train became normal to us.
One of the reasons it felt manageable was because we planned our route carefully before we arrived.
➜ If you want to see exactly how we connected these destinations, including where we stayed, what we did each day, and how we organized transportation between cities, our Ultimate 14-Day Japan Travel Guide walks through the entire trip step-by-step.
TL;DR: How We Got Around Japan
✔ Digital Suica card in Apple Wallet before arrival (Android users, see below)
✔ Credit cards + yen for backup payments
✔ Google Maps for every train route
✔ Reliable data plan/eSIM for navigation
✔ GO Taxi app for convenience
✔ Luggage forwarding between cities
✔ Overnight bags for Hakone & Miyajima
✔ Arrive early at major stations
✔ Learn basic train etiquette
In a Rush? Here's What We Actually Used to Get Around
What to Set Up Before Your Trip
There are a few things we would recommend setting up before your trip.
If you’re still deciding when to visit or how to organize your route, start with our 10 Tips for Planning a Japan Trip (How I Planned Our 14-Day Japan Itinerary)
1. Make Sure You’ll Have Cell Service
Personally, we used our carrier’s international phone plan because it was the simplest option for us, but an eSIM is often the most affordable choice if your phone is unlocked.
There are several ways to stay connected:
International phone plan (what I used)
eSIM
Pocket WiFi
An eSIM is often the cheapest option, but most carriers require your phone to be unlocked before it can be installed. If you’re considering an eSIM, double-check with your carrier before your trip.
Whatever option you choose, make sure you have a plan before arriving in Japan.
2. Plan Your Payment Methods: Credit Cards, Suica & Cash
Credit cards are widely accepted in major cities, and we used ours for many restaurants, hotels, shopping, and attractions. However, we still carried yen as a backup for smaller restaurants, markets, temples, vending machines, and places that did not accept cards or IC payments.
For transportation, we relied heavily on our Suica cards (stored directly on our phones), which made getting around incredibly easy. We used them for trains, subways, buses, and many small purchases at convenience stores and vending machines. Having an IC card meant we rarely needed to stop and figure out payment at stations or worry about carrying exact change.
We recommend bringing:
A backup credit card
A debit card that allows international ATM withdrawals
A small coin purse (you will collect more coins than you expect!)
Shop it on Amazon
While Japan is incredibly card-friendly, yen is still useful as a backup. We encountered cash-only situations at smaller restaurants, market stalls, temples, and local vendors.
We ordered Japanese yen from our bank before leaving home, but you can also withdraw cash after arriving in Japan. Convenience store ATMs, especially at 7-Eleven, are reliable options. Just check your bank’s international ATM fees and foreign transaction fees before your trip.
➜ Understanding payment methods was one part of our overall Japan trip budget planning. If you want to see what we spent on hotels, food, transportation, attractions, and souvenirs, you can read What Our 14-Day Japan Trip Actually Cost: A Full Family Breakdown.
3. Get a Digital Suica Card
This is the one piece of setup we’d genuinely tell you not to skip, and to do before you leave home, not after you land.
If you have an iPhone, add your Suica card to Apple Wallet before your trip, and it's ready to use the moment you step off the plane. At the time of writing, digital Suica generally isn't available on Android phones bought outside Japan, so Android users will need a physical card. Check current support before you go. Your very first transportation decision in Japan is almost always getting from the airport to your hotel, and having Suica already loaded meant we could just walk up to the platform and tap through like we’d been doing it for years.
Once it’s set up, reloading is just as simple. You top up from your phone in a few taps, no searching for a machine that takes foreign cards. We generally kept about 5,000 yen ($30–35 USD) loaded at a time, adding more as our balance ran low, and switched to smaller top-ups near the end of the trip since leftover balance stays on the card.
Beyond trains, subways, and buses, we used Suica constantly at 7-Eleven, Lawson, FamilyMart, small grocery shops, and vending machines. It functions less like a transit pass and more like a tap-to-pay wallet for the whole trip. Most mornings we grabbed breakfast at a convenience store using nothing but a tap of the phone.
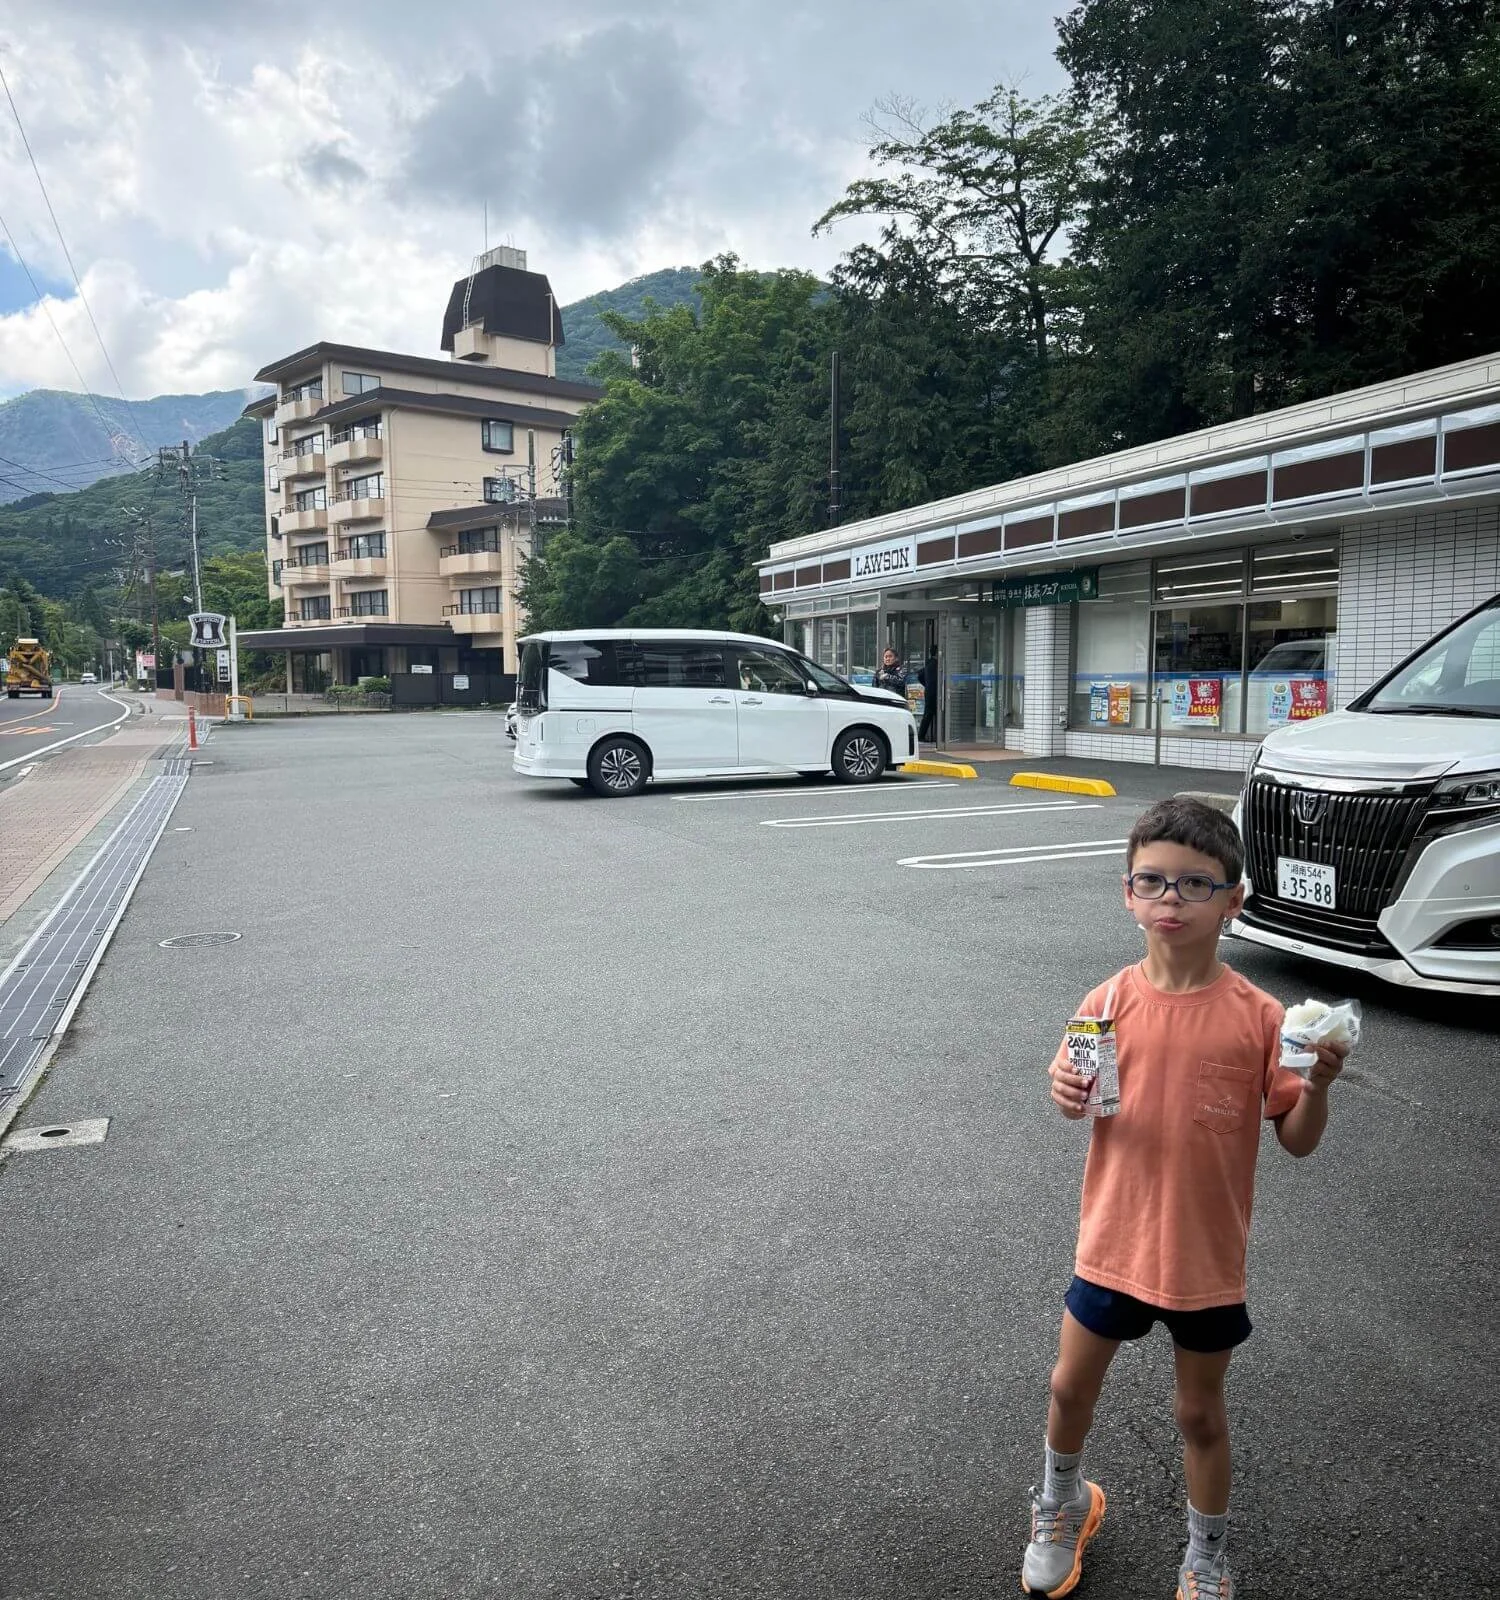
Suica isn't just for trains. We used it constantly at convenience stores like this Lawson for quick breakfasts and snacks throughout the trip.
4. Google Maps Is Your Best Friend
If there is one app that made this trip possible, it was Google Maps.
Google Maps tells you:
which train line to take
what platform to wait on
how many stops to ride
when to transfer
how much the trip costs
walking directions after exiting the station
It even shows:
delays
train schedules
estimated crowd levels
We relied on Google Maps dozens of times every day. We never downloaded a separate train app because Google Maps handled everything we needed.
➜ If you are still feeling overwhelmed by Japan transportation, this is one reason we recommend planning your route by neighborhood and location instead of randomly grouping attractions together. I explain that planning strategy in our post: 10 Tips for Planning a Japan Trip (How I Planned Our 14-Day Japan Itinerary)
5. Don’t Be Intimidated by the Trains
Our first major train experience was Shibuya Station in Tokyo.
If you’ve never been there, it is a very busy station and probably not the easiest place to learn how Japan’s train system works.
But if we could figure out Shibuya Station on our first day, you can too. The biggest thing to remember is that there are signs everywhere.
You’ll see:
platform numbers
train line names
directional signs
station maps
The key is simply matching what you see on Google Maps with what you see in the station.
At first this takes some effort but after a few rides it becomes easy.
➜ The same approach helped us when navigating Japan’s longer-distance trains. If you are planning to travel between cities, our guide Riding the Shinkansen (Japan’s Bullet Train) covers what to expect, how we booked tickets, and tips for first-time riders.

Catching a glimpse of Mount Fuji through the window was one of our favorite Shinkansen moments even if not everyone was in the mood for a photo.
6. Give Yourself Extra Time
Japan’s train stations can be very busy, especially in larger cities like Tokyo. When you are still learning how the system works, trying to navigate quickly while crowds of commuters rush around you can cause stress levels to spike.
Giving ourselves a little extra time allowed us to:
find the correct platform
double-check directions
figure out transfers
avoid feeling rushed
This was especially helpful during our first few days in Japan while we were still getting comfortable with the system.
Once we gained confidence, navigating stations became much easier, but those extra few minutes in the beginning helped keep everyone happy.
The Trains Really Are That Reliable
Before our trip, we had heard that Japanese trains were incredibly punctual. After experiencing them firsthand, we can confirm that the reputation is well deserved.
Over the course of our 14 days in Japan, there were only a handful of occasions when a train was delayed by more than a few minutes.
For the most part, trains arrived and departed exactly when Google Maps predicted. This reliability makes planning your days much easier and is one of the reasons public transportation works so well throughout Japan.
If You Get Lost
Train station employees were incredibly helpful whenever we needed assistance.
If you truly can’t figure something out, don’t hesitate to ask.
There are staff members throughout most stations who are used to helping travelers.
Traveling Around Japan With Kids
Japan is an incredibly family-friendly destination, and we found the transportation system surprisingly easy to navigate with a child. However, there are a few things families should know before their trip.
If you are traveling Japan with kids, the biggest challenge is usually not transportation, it is pacing. Our itinerary was designed around realistic travel days with a five-year-old, including breaks, shorter travel windows, and experiences that worked well for our family. If you want more tips on Japan with kids be sure to read: Japan With Kids: Everything I Wish I Knew Before Our Trip
IC Cards for Children
One thing to know is that children 6 and older need their own transportation pass (at the time of our visit in 2026), while younger children typically do not need their own IC card for trains. If someone in your group does not have access to a phone for a digital Suica card, you will need to get a physical IC card instead.
For families traveling with children, check the current child fare rules before your trip since requirements can vary depending on age and transportation type.
Android users should plan on a physical card too.
Prepare for a Lot of Walking
You will walk A LOT while visiting Japan.
During our 14 days in Japan, we regularly walked 15,000 - 20,000+ steps a day while exploring cities, temples, neighborhoods, and attractions, and our biggest days topped 23,000. Our 5-year-old handled it incredibly well, but by the end of the trip he was definitely feeling the miles. There were times when we carried him for a bit just to give him a break.
The sneakers that got us through 20,000+ steps a day
The sheer amount of walking also shaped how we packed. Traveling with lighter luggage made navigating stations and moving between cities much easier.
➜ You can see exactly what we packed in our guide: What We Packed for Japan (Family of 3, 14 Days, Carry-On Only)
Your experience may be completely different depending on your itinerary and pace. Families doing fewer activities each day may not encounter the same level of fatigue.
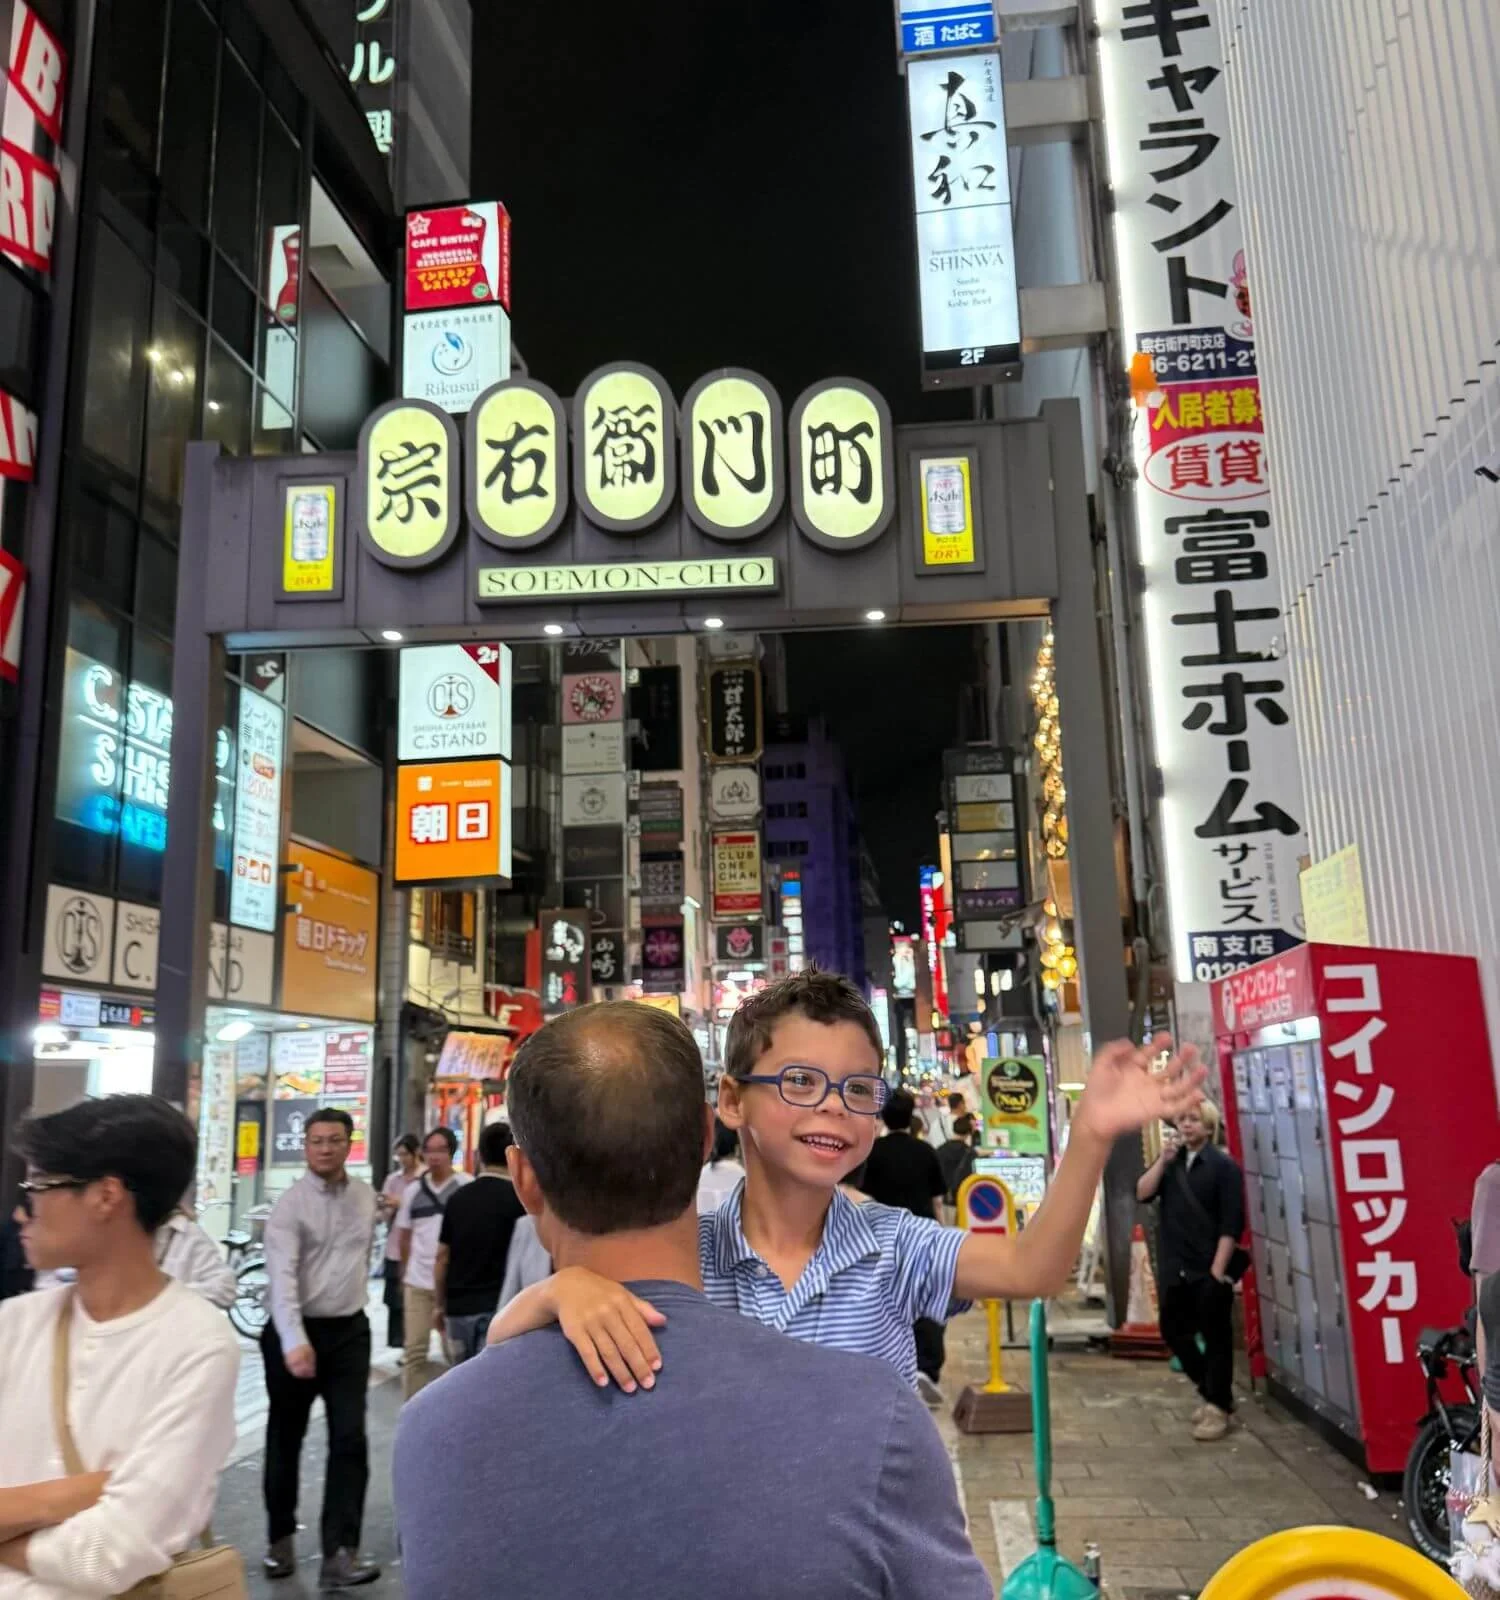
Between walking and navigating trains all day, carrying a tired kid becomes second nature. Plan for it rather than fighting it.
Should You Bring a Stroller?
We saw many families using strollers throughout Japan, and it is definitely an option worth considering. We actually rented a stroller from our hotel at one point, but ultimately returned it because we found navigating stations, stairs, and crowded areas to be more of a hassle for our itinerary.
That said, many families successfully use strollers in Japan, especially if:
your child naps during the day
you are traveling at a slower pace
you have a younger child who cannot walk long distances
you are visiting fewer locations each day
you have multiple children
For our family, a combination of letting our child walk, taking breaks, and occasionally carrying him worked best.
7. Download the GO Taxi App
While we primarily used trains, we did use taxis several times.
We would recommend downloading the GO Taxi app before your trip in case you find yourself wanting or needing a quick ride.
Uber works in parts of Japan, but it often connects you to local taxi companies anyway. GO is the app most locals use and gave us the smoothest experience.

We took a taxi in Kyoto to make it to a café before it closed. A good example of when the extra cost is worth the time saved.
When Taking a Taxi Was Worth It
Between all the walking and the pace of a multi-city itinerary, there were moments when we simply didn’t want to walk another step especially, after a long day of sightseeing, when everyone just wanted to be back at the hotel.
We also used taxis when taking a train would have caused us to miss something we wanted to see.
8. Luggage Forwarding Was a Game Changer
One of the best travel decisions we made was using luggage forwarding.
We used it for:
Tokyo → Kyoto
Kyoto → Osaka
Osaka → Tokyo
We forwarded our luggage three times during our trip. It was inexpensive for what it saved us, and our bags arrived at the next hotel the following day.
For overnight stops in Hakone and Miyajima, we packed a small backpack with one change of clothes and toiletries while our larger luggage was sent ahead.
Our bags on Amazon
- Cotopaxi Allpa 35L Travel Backpack (colors vary)
- A carry-on roller similar to our Quince
- Our overnight backpack
Our Quince roller isn't sold on Amazon, so we linked one that's very similar and about the same size.
We never had to haul large suitcases through Tokyo Station, Kyoto Station, or onto crowded trains, and I would absolutely use luggage forwarding again on any future trip to Japan. After a full day of walking, not having to drag a suitcase through a station, especially if the weather turned, made a big difference.
➜ Because luggage forwarding was such a major part of making our multi-city itinerary work, we included detailed instructions in our Ultimate 14-Day Japan Travel Guide, including when we sent our bags, which cities we forwarded between, and how we handled overnight stops in Hakone and Miyajima.
9. Train Etiquette Tips
These aren’t strict rules, but they’re common courtesies you’ll notice locals following. Japan’s transportation system works so smoothly partly because of these small cultural habits.
Keep conversations quiet.
Put phones on silent.
Carry your trash until you find a bin.
Don’t eat on commuter trains.
Wear backpacks on your front during crowded rides.
Travel Note: Unlike local trains, eating and drinking is completely normal on the Shinkansen, and many stations sell delicious bento boxes specifically for train travel.
➜ See our post: Riding the Shinkansen (Japan’s Bullet Train)
➜ If you want to learn more about everyday etiquette before your trip, read our guide: Japan Etiquette Tips: What Travelers Should Know Before Visiting
10. Download These Additional Apps Before You Go
| App | Purpose |
|---|---|
| Google Maps | Navigation, train routes, walking directions |
| Google Translate | Text, camera and conversation translation |
| Airalo (eSIM) | Mobile data for Japan without changing your phone plan |
| Klook | Attractions booking |
| GO Taxi | Taxi booking |
| Tabelog | Restaurant reviews (a rating around 3.5 is generally considered very good in Japan) |
| Calculator | Add JPY conversion for quick budgeting |
| Apple Wallet (iPhone) | Digital Suica card (Android phones bought outside Japan generally can't use it, so check current support before you go) |
Final Thoughts
Before visiting Japan, we expected transportation to be one of the most stressful parts of our trip. Instead, it became one of the easiest.
Between Google Maps, a digital Suica card, Japan’s incredibly reliable train system, the occasional taxi ride, and luggage forwarding between cities, getting around was surprisingly simple, even with a five-year-old.
If you’re planning your first trip to Japan, don’t let the transportation system intimidate you. After a day or two, you’ll likely find yourself navigating stations with confidence and wondering why you were ever worried in the first place.