10 Tips for Planning a Japan Trip (How We Planned Our 14-Day Japan Itinerary)
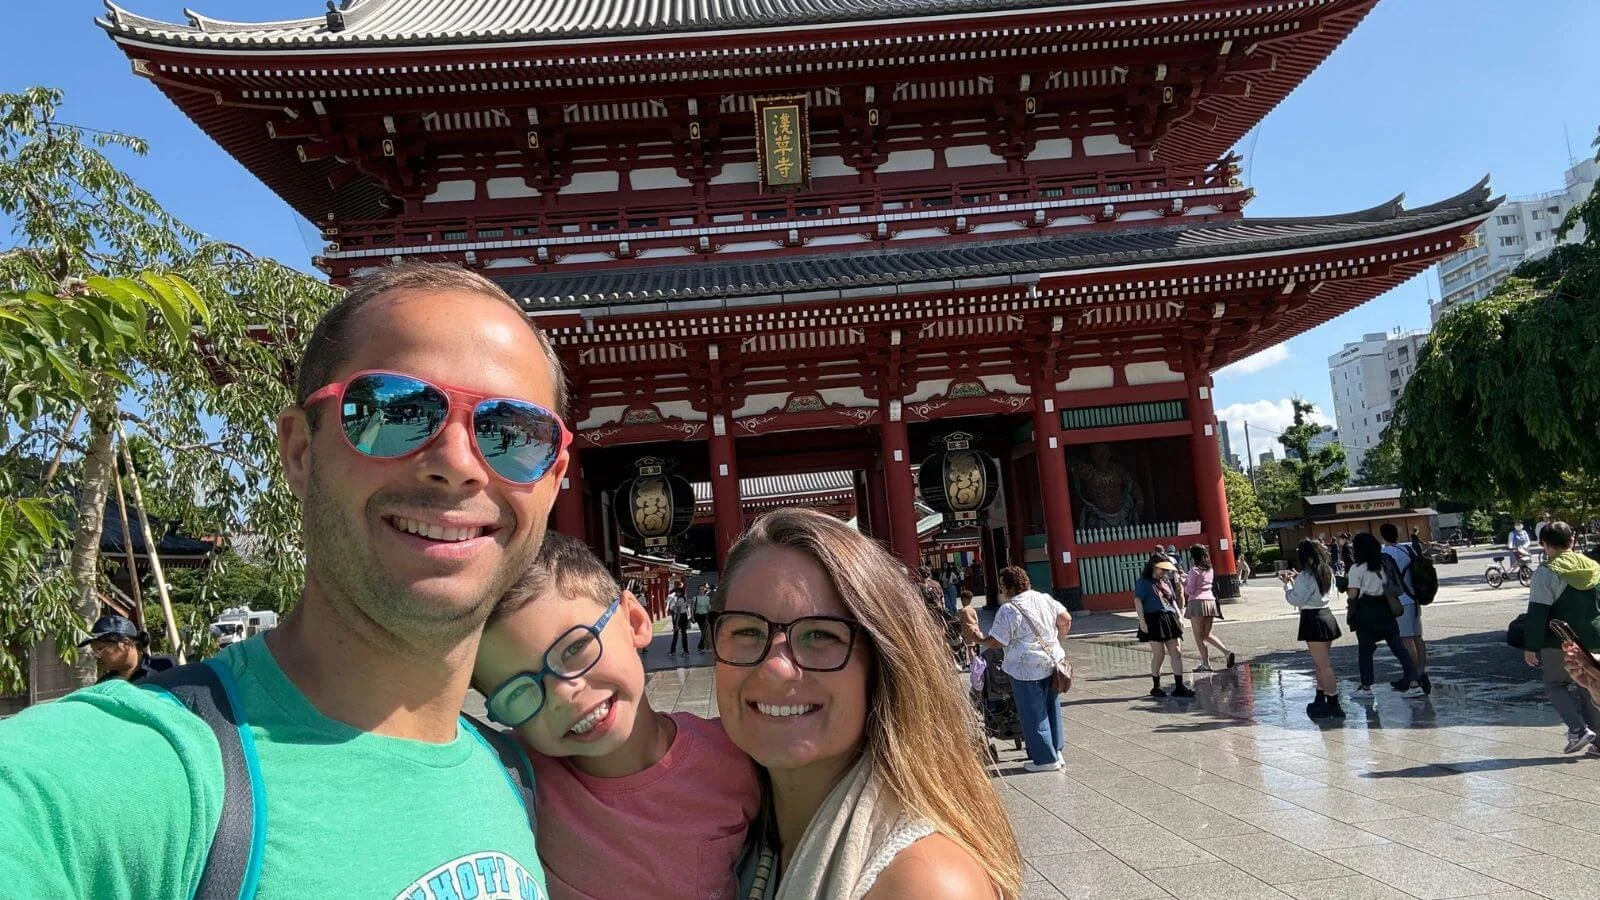
Planning paid off in moments like this, standing in front of Senso-ji temple in Tokyo.
This post contains affiliate links, which means we may earn a small commission if you book or buy through them, at no extra cost to you. As an Amazon Associate I earn from qualifying purchases. We only recommend things we've used ourselves or would genuinely use on our own family trips, and all opinions are our own.
TL;DR: Our 10 Tips for Planning a Japan Trip
1. Build your must-do and dietary-needs lists before building your itinerary.
2. Map everything by location, not by day, to cut down on backtracking.
3. Pick hotels for proximity to a train station over luxury or space.
4. Set up mobile data and a digital Suica card before you land.
5. Splurge intentionally, and book limited-space restaurants and attractions ahead of time.
6. Pack a carry-on only and use luggage forwarding between cities.
7. Cards work almost everywhere, but carry some cash as backup.
8. Download Google Maps, Google Translate, Klook, and GO Taxi before you leave.
9. Expect to walk 15,000 - 20,000+ steps a day. Plan accordingly with young kids.
10. Plan thoroughly, but leave room to slow down - you won’t see it all, and that’s okay.
We are planners by nature, and one of our biggest vacation nightmares is wasting precious travel time trying to figure out what to do, where to eat, or how to get somewhere. We wanted to maximize our time in Japan, so we spent a significant amount of time planning before we ever boarded the plane.
That planning paid off.
Tip 1: Build a List of Everything We Wanted to Do
We started by creating a master list of attractions, sights, and experiences that interested us.
Once we had that list, we created a second list of restaurants and food options that would work for our family. Because we need to follow a gluten-free diet, food planning was an important part of preparing for this trip.
Read More: How to Eat Gluten-Free in Japan: What We Learned
We created a dedicated gluten-free Japan guide covering the restaurants, bakeries, markets, and backup options we found throughout our journey. Whether you are traveling with celiac disease, gluten intolerance, or another dietary restriction, having a plan before arriving can make navigating Japan’s food scene much less stressful.
Only after we had both lists we began building our itinerary.
Read More: Our 14-Day Japan Itinerary: Tokyo, Hakone, Kyoto, Hiroshima, Miyajima, Nara & Osaka
Want a Local Guide for Part of Your Trip?
We explored Japan on our own, but a private guide can make a busy city or a long day of sightseeing much easier with kids. GoWithGuide offers private tours with local guides you can message before booking, so you can plan the day around your family's pace.
Choose Your Stop
Tip 2: Map Everything Out
This is where the real planning began.
We mapped attractions, restaurants, train stations, and hotels to determine the most efficient way to move around each city.
Instead of planning by day, we often planned by location.
Grouping attractions together reduced travel time and helped us see more without feeling like we were constantly crossing the city.
This planning process also heavily influenced our hotel choices.
We also planned our route as a loop to minimize backtracking: west from Tokyo through Hakone and Kyoto to Hiroshima and Miyajima, then back east through Osaka to Tokyo. It saved both time and transportation costs.
Tip 3: Prioritize Location Over Almost Everything Else
When choosing hotels, we were not looking for luxury.
We were looking for convenience.
Being close to a major train station was one of the most important factors in every hotel decision we made.
Japan’s train system is incredibly efficient, affordable, and easy to use once you get the hang of it. Staying near a station made it easier to start our day, return for breaks if needed, and move between cities.
As long as a hotel was:
clean
safe
well-reviewed
close to transportation
and met our sleeping arrangement needs
it was a strong candidate.
Every hotel we chose worked well for what we actually needed, even though a few came with real trade-offs like smaller rooms, a dated feel, and no onsen at a couple of properties. We go through the honest pros and cons of each property in detail in our hotel review post.
Where to Stay With Kids
Choosing the right hotel locations was one of the biggest factors that helped our itinerary run smoothly. We prioritized transportation access, convenience, and minimizing unnecessary travel time between sightseeing areas.
Tip 4: Plan Your Transportation Before You Arrive
Have a Plan for Data Before You Leave
This is one thing we would not leave until the last minute.
Our entire trip relied on:
Google Maps
Google Translate
train schedules
restaurant information
attraction reservations
navigation
You have several options:
International phone plan (what I used)
Pocket WiFi
An eSIM can be a great option, but keep in mind that your phone typically needs to be unlocked. Many carriers require your phone to be fully paid off before it can be unlocked.
Whatever option you choose, make sure you have reliable access to data before arriving in Japan.
Many of the tools that made our trip run smoothly like Google Maps, Suica top-ups, restaurant searches, train schedules, and translation apps all depend on having internet access.
Having a reliable connection removed a tremendous amount of stress from traveling in a country where we did not speak the language.
Get a Digital Suica Card
If there is one planning tip we would give almost every traveler heading to Japan, it would be this: get a digital Suica card.
Every adult in your group will need their own. Kids under 6 ride free with a paying adult. Kids 6 to 11 pay a child fare, but only with a physical child IC card bought at a staffed station counter with their passport. A regular or digital Suica charges them the full adult fare.
We loaded ours directly onto our phones and used them throughout the trip for trains, buses, and purchases.
Using the digital version made topping up funds incredibly easy.
Most of the trip, we added around 5,000 yen at a time. As we approached the end of our trip, we switched to smaller amounts because leftover money on a digital Suica can only be refunded to a Japanese bank account, so it’s best to spend it down before you leave.
One thing we didn’t realize before visiting Japan is that a Suica card can be used for much more than transportation. In addition to trains and buses, we regularly used ours to pay for purchases at convenience stores such as 7-Eleven and Lawson. Many mornings, we used our Suica cards to buy breakfast before heading out for the day. It was incredibly convenient and meant we rarely needed to carry cash for everyday purchases.
If someone in your group doesn’t have an iPhone, or you prefer a physical card, you can buy a Suica or PASMO at station machines once you arrive. Visitors can also get a Welcome Suica at major airports like Haneda and Narita. Suica can’t be added to most Android phones bought outside Japan.
Note: When entering train stations, you do not need a card or to pay for children under 6. You will simply tap your card and your child will walk through (or be carried) with you.
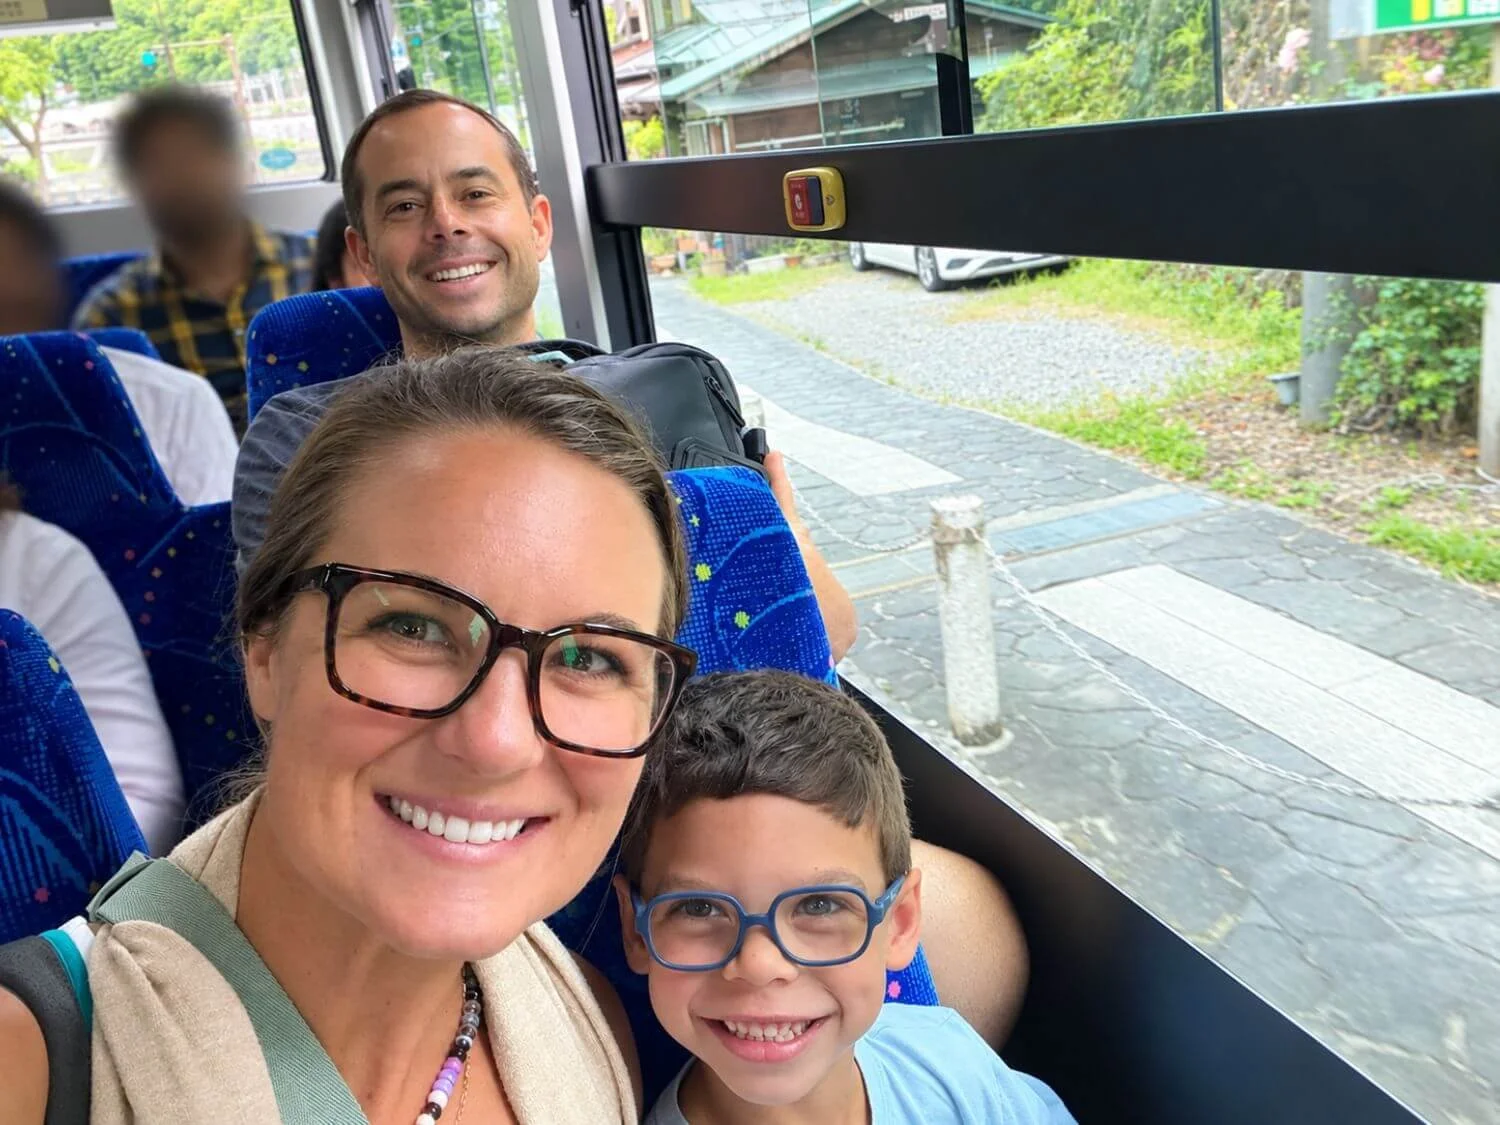
We used our Suica cards to make getting around Japan’s public transportation much easier even a few times for the bus.
Trust Google Maps and Use Public Transportation
As Americans, we drive almost everywhere. While taxis and rideshare services are available in Japan, relying on them regularly can add up quickly especially, if you’re moving around as much as we did.
Before our trip, using trains every day felt intimidating. In reality, Google Maps made navigating Japan’s transportation system incredibly simple.
The app tells you:
which train line to take
which platform to wait on
how many stops to ride
where to transfer
walking directions after exiting
estimated costs
delays
crowd levels
We also used buses occasionally, and Google Maps handled those routes just as well.
It took only a few rides before using Japan’s transportation system felt completely normal.
One thing that helped us tremendously was arriving at train stations a few minutes earlier than we technically needed to. Japan’s stations can be extremely busy, and trying to navigate while crowds of commuters rush around you can feel overwhelming at first. Giving ourselves extra time helped keep stress levels low until we became comfortable with the system.
Pro Tip: We quickly learned that wearing backpacks on the front of our bodies during busy train rides helped avoid accidentally bumping into other passengers and is common practice in Japan.
Want to learn more about Japanese etiquette, cultural expectations, and small things you can do to be a respectful traveler?
Read More: Japan Etiquette Tips: What Travelers Should Know Before Visiting
Traveling between cities was one of the things we were most nervous about before visiting Japan. After doing it ourselves, we realized the system is much more approachable than it seems from the outside.
We created a separate guide covering everything we learned about trains, Shinkansen travel, luggage, Suica cards, and navigating Japan’s transportation system.
Read More: How to Get Around Japan: A First-Time Visitor’s Guide to Trains, Suica Cards, Google Maps & More
Read More: Riding the Shinkansen (Japan’s Bullet Train)
Tip 5: Book the Experiences That Matter Most
Spend Money on What Matters to You
We intentionally spent a little more on a few special experiences.
For us, those included:
staying in a traditional ryokan in Hakone
spending the night on Miyajima Island
Neither was strictly necessary, but both were absolutely worth it for us.
Read More: Is Hakone Good for Kids?
Read More: Is Hiroshima & Miyajima Good for Kids?
If you are traveling on a tighter budget, you could easily visit both locations as day trips and stay elsewhere.
The important thing is to identify the experiences that matter most to you and build your budget around those priorities.
Everything Else We Booked
Getting Around
Things We Booked Ahead
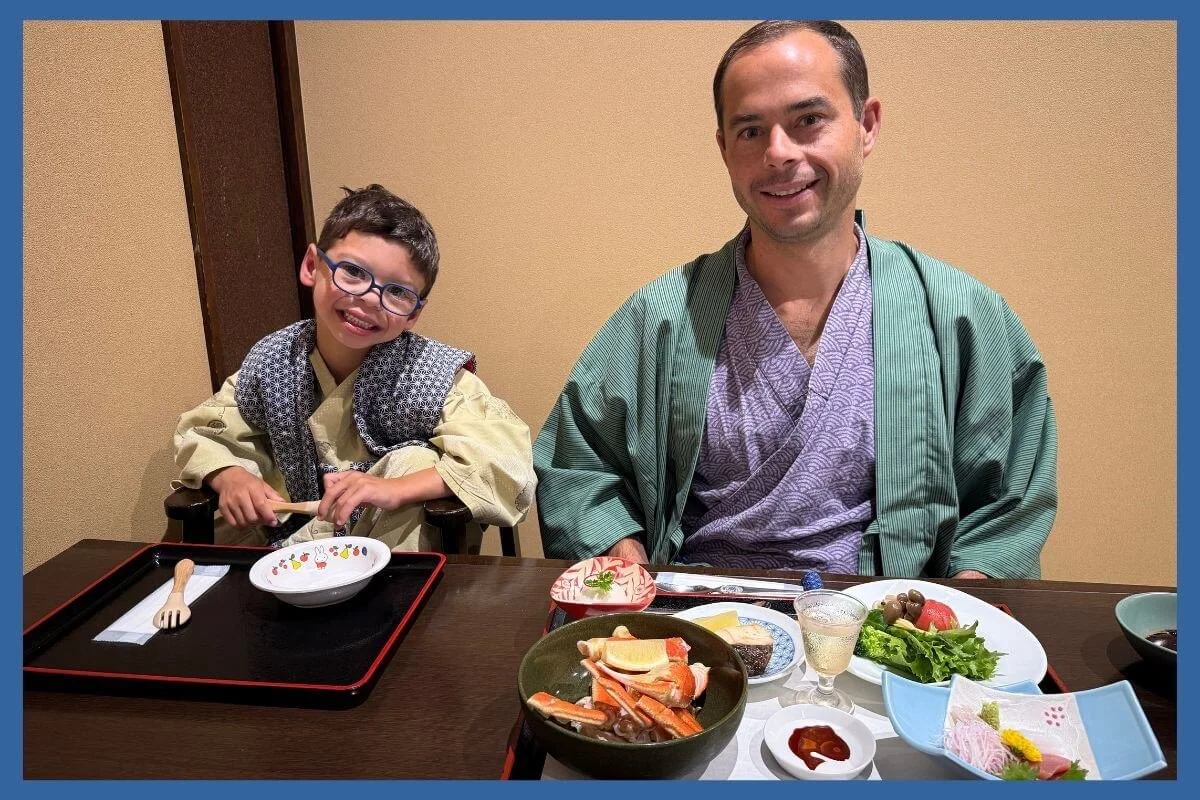
Our kaiseki dinner at the ryokan in Hakone was one of the experiences we intentionally splurged on.
Make Reservations and Be Aware That Space is Limited
One of the biggest things that improved our experience in Japan was planning ahead for restaurants and experiences we really did not want to miss.
Many restaurants, especially the smaller, more local spots, have limited seating and fill up quickly. In some cases, we would have missed out entirely if we had not planned ahead or made a reservation. This can be devastating if you have dietary restrictions like we do and are limited on where you can eat.
The same is true for certain attractions and experiences. If there is something specific you really want to do or eat, it is worth looking into reservations ahead of time whenever possible.
One thing that became very clear throughout our trip is that space is truly a luxury in Japan. This applies to restaurants, hotels, and even general public areas.
Hotels, in particular, are often much smaller than what many travelers are used to, even when they are clean, modern, and well-located.
Once we understood this, it helped us set better expectations and made planning much easier. We focused less on space and more on location, efficiency, and experiences which ultimately made our trip run much more smoothly.
Tip 6: Pack Light (and Use Luggage Forwarding)
Pack Less Than You Think You Need
Traveling with only carry-on luggage was one of the smartest calls we made for this trip.
The more we travel, the more we realize how little we actually need.
We:
washed clothes in the hotel sink or shower
used hotel laundry facilities
packed versatile clothing
utilized luggage forwarding between cities
Packing light made moving through train stations and changing hotels significantly easier.
Another thing that made us feel better about packing light is that Japan has a ton of shopping options. If you forget something, need an extra layer, or decide you want another item of clothing while you’re there, you’ll have no trouble finding it. Knowing this made it much easier for us to leave some of the “just in case” items at home.
Read More: What We Packed for Japan (Family of 3, 14 Days, Carry-On Only)
Use Luggage Forwarding Between Cities
One of the best decisions we made was using Japan’s luggage forwarding service.
Instead of carrying all of our luggage on trains between cities, we shipped our suitcases directly from hotel to hotel.
We used luggage forwarding for:
Tokyo → Kyoto
Kyoto → Osaka
Osaka → Tokyo
For Hakone and Miyajima, we simply packed a small overnight bag and brought essentials with us.
This allowed us to:
travel through train stations easily
avoid carrying heavy luggage on crowded trains
move between cities without stress
focus on enjoying travel days instead of managing bags
Japan’s luggage forwarding system is:
reliable
affordable
incredibly efficient
It honestly felt like one of the most “luxury travel” parts of our trip, even though it’s widely available and easy to use.
If you are visiting multiple cities in Japan, luggage forwarding can make a huge difference. We used it multiple times during our trip and found it to be one of the easiest ways to make travel days less stressful.
Pro Tip: If you’re interested in using luggage forwarding, ask your hotel’s front desk about it when you check in rather than waiting until checkout day. Different luggage forwarding services have different requirements and handling times. Some hotels can accept your luggage the morning you check out, while others require you to drop it off the day before. Asking early gives you plenty of time to plan and avoids any last-minute surprises.
Read More: Luggage Forwarding in Japan With Kids: How We Sent Our Bags Between Cities
Tip 7: Plan Your Payment Strategy
Make a Plan to Get Some Yen
Japan has become much more card-friendly than many travel guides would have you believe. We used credit cards for the vast majority of our purchases throughout the trip.
However, we would still recommend having some cash available.
While most hotels, train stations, convenience stores, and larger restaurants accepted credit cards, we did encounter a handful of situations where cash was required. For example, our trout fishing experience in Hakone was cash only, and some smaller restaurants, vendors and shops also preferred cash.
Because we can be very Type A and like to be prepared, we ordered Japanese yen from our bank before our trip. This meant we landed in Japan with cash already in hand and did not need to worry about finding an ATM immediately after arrival.
You can absolutely withdraw yen from an ATM once you arrive in Japan, and many travelers do exactly that. We also carried a debit card with no foreign transaction fees, so this was always available as a backup option.
If you plan to obtain cash after arrival, we recommend checking your bank’s foreign transaction fees, ATM fees, and exchange rate policies before you travel so you are not surprised by unexpected charges.
One more money note: starting November 1, 2026, tax-free shopping works differently. You pay full price at the register and get the tax back at the airport when you leave, so keep your receipts and keep those purchases in your carry-on.
Want to see how much we spent during our trip? Check out this blog post: What Our 14-Day Japan Trip Actually Cost: A Full Family Breakdown
Tip 8: Download These Apps
Download these before you leave so you’re not trying to install apps after landing.
| App | Purpose |
|---|---|
| Google Maps | Navigation, train routes, walking directions |
| Google Translate | Text, camera and conversation translation |
| Airalo (eSIM) | Mobile data for Japan without changing your phone plan |
| Klook | Attractions booking |
| GO Taxi | Taxi booking |
| Tabelog | Restaurant reviews (a rating around 3.5 is generally considered very good in Japan) |
| Calculator | Add JPY conversion for quick budgeting |
| Apple Wallet (iPhone) | Digital Suica card (not available on non-Japanese Android phones) |
| Visit Japan Web | Fill out immigration and customs forms online before you land |
We used our carrier's international plan, so we can't speak to eSIMs firsthand. If you'd rather use one, Airalo is a popular option to look at before you go. Check that your phone is unlocked and supports eSIM first.
Tip 9: Be Realistic About Walking
One thing that surprised us was just how much walking we did every single day.
Even though we relied heavily on Japan’s excellent train system, it was completely normal for us to walk 18,000 steps or more in a day. On our full days in Japan, we averaged about 18,000 steps, and our biggest sightseeing days topped 23,000.
Because of this, comfortable shoes are not optional.
Bring shoes that you know you can comfortably walk in for long periods of time. This is not the trip to break in a new pair of shoes.
We were also very glad we packed two pairs of shoes. On rainy days, it allowed one pair to dry while we wore the other.
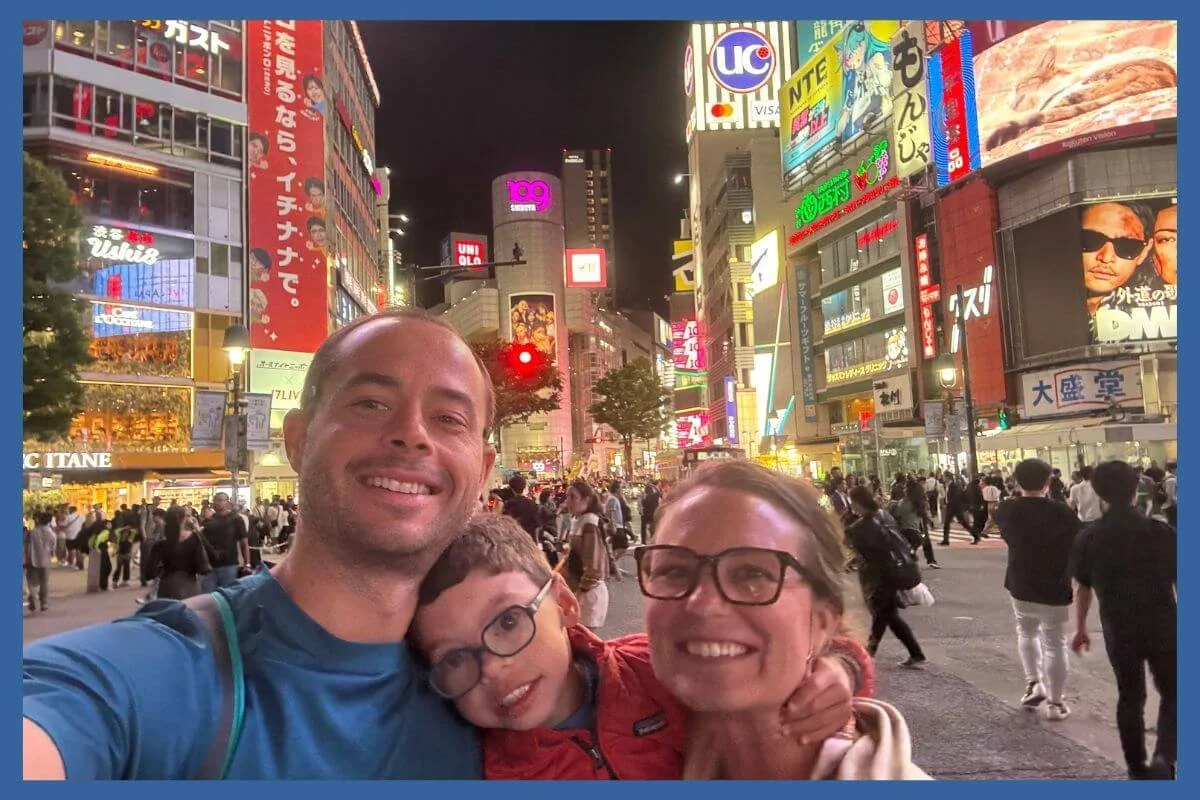
Shibuya Crossing after dark. One of the busiest intersections in the world, and a good preview of how much walking and navigating a Japan trip involves.
If You’re Traveling With Children
This is also something to think about if you’re traveling with young children.
Our son was five during our trip and was able to walk the vast majority of the time. However, he eventually started complaining that his legs were tired on some of our longer sightseeing days.
When that happened, we simply took turns carrying him.
Because he is on the smaller side and because there are only three of us, this worked well for our family.
We also benefited from packing light and using luggage forwarding, which meant we weren’t carrying unnecessary bags while also carrying a child.
However, every family is different.
If:
your child is younger
you have multiple children
your child tires easily
you don’t want to carry them long distances
you may want to consider bringing a stroller or renting one.
One of our hotels actually offered stroller rentals. We tried one for about 30 minutes before deciding it wasn’t a good fit for us, but many families may find this option helpful.
We saw plenty of families throughout Japan using strollers for children Jackson’s age and even older, so this is clearly a common challenge many families encounter.
The important thing is simply being realistic about how much walking your family can comfortably handle before you arrive.
You may find this blog helpful if you are planning to travel to Japan with your kiddos: Japan With Kids: Everything I Wish I Knew Before Our Trip
Tip 10: Make a Plan, But Don’t Try to Do Everything
One of the biggest lessons we learned while planning Japan is that having a detailed plan doesn’t mean you have to follow it perfectly.
We planned attractions, restaurants, transportation routes, and even backup options if weather or circumstances changed. That preparation gave us confidence and reduced stress, but it also gave us the freedom to adapt when we wanted to.
It’s also important to accept that you probably won’t see everything and that’s okay.
Japan has an incredible number of things to see and do, and trying to fit every “must-see” attraction into one trip can quickly become exhausting. Instead of trying to check every box, focus on the experiences that matter most to you and leave room for unexpected discoveries along the way.
Some of our favorite memories came from slowing down, wandering neighborhoods, browsing local shops, and enjoying moments we never could have planned.
The goal isn’t to see everything. It’s to enjoy the trip you’ve planned.
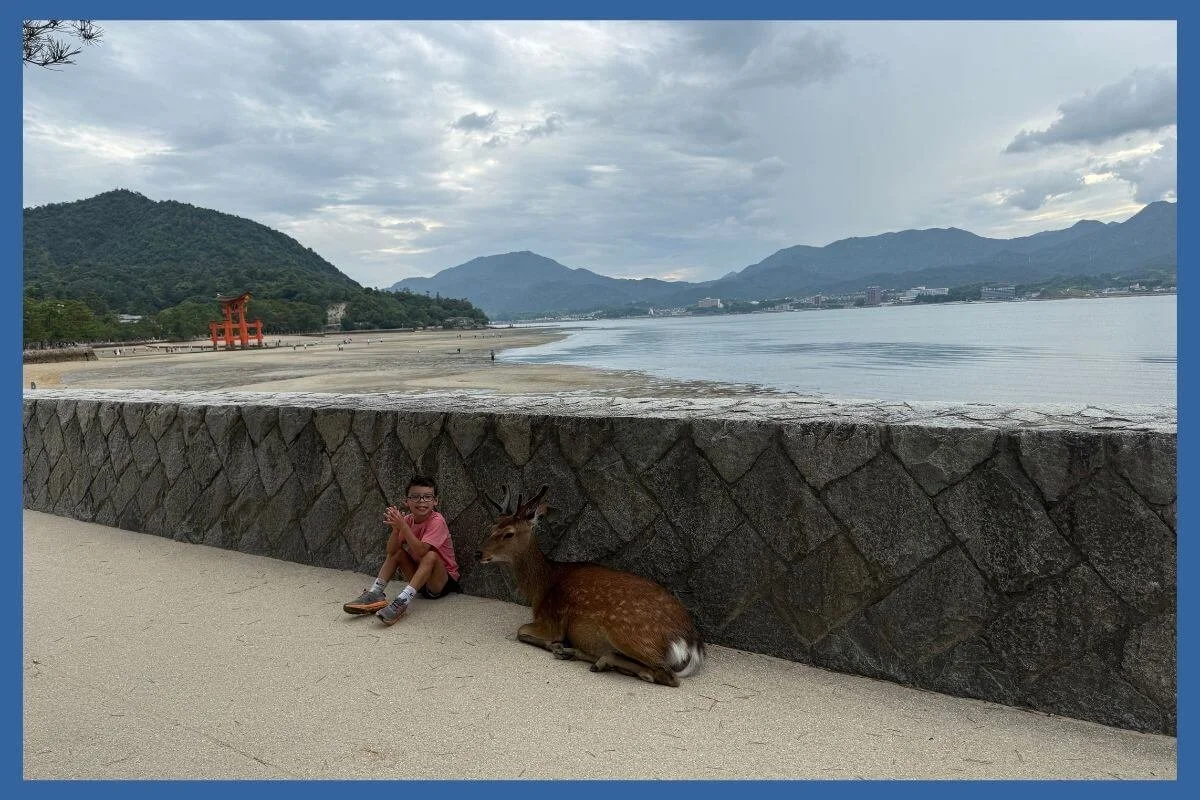
A quiet moment with one of Miyajima's famous deer. A good reminder that some of the best parts of the trip weren't on any checklist.
A Few Final Planning Tips
Don’t skip convenience store breakfasts. We grabbed breakfast from 7-Eleven or Lawson most mornings, and it ended up being one of our favorite travel hacks. It saved time, was inexpensive, and let us start sightseeing before restaurants opened.
Carry a small plastic bag. Public trash cans are surprisingly scarce, so you’ll often need to hold onto your trash until you find one.
Pack a small hand towel. Many public restrooms don’t provide paper towels or hand dryers, and locals often carry their own.
Bring a portable charger. Between Google Maps, Google Translate, photos, reservations, and using your phone as a Suica card, your battery will drain faster than you expect.
Pack a compact umbrella or packable rain jacket. Even if rain isn’t in the forecast, it’s lightweight and easy to carry.
Bring a coin purse. If you use cash during your trip, you’ll accumulate a surprising number of coins.
Planning Japan can feel overwhelming because there are so many decisions: where to stay, which neighborhoods to visit, how to organize transportation, what needs reservations, and what can be decided once you arrive.
That is exactly why we created our Japan itinerary guides. Instead of spending months piecing together information from dozens of sources, you can start with a researched itinerary and adjust it to fit your own travel style.

Planning Japan? Keep It All in One Place
Hotels in every city, train legs, timed tickets, and a packing list for the whole crew add up fast. Our free Trip Planning Command Center keeps it organized so you can focus on the fun part.
- Plan each day, city by city
- Track hotels, trains, and tickets you've booked
- Keep everyone's packing in one list
Get the Free Trip Planner →