Where We Stayed in Japan: Honest Reviews of Our 6 Hotels (13 Nights as a Family)
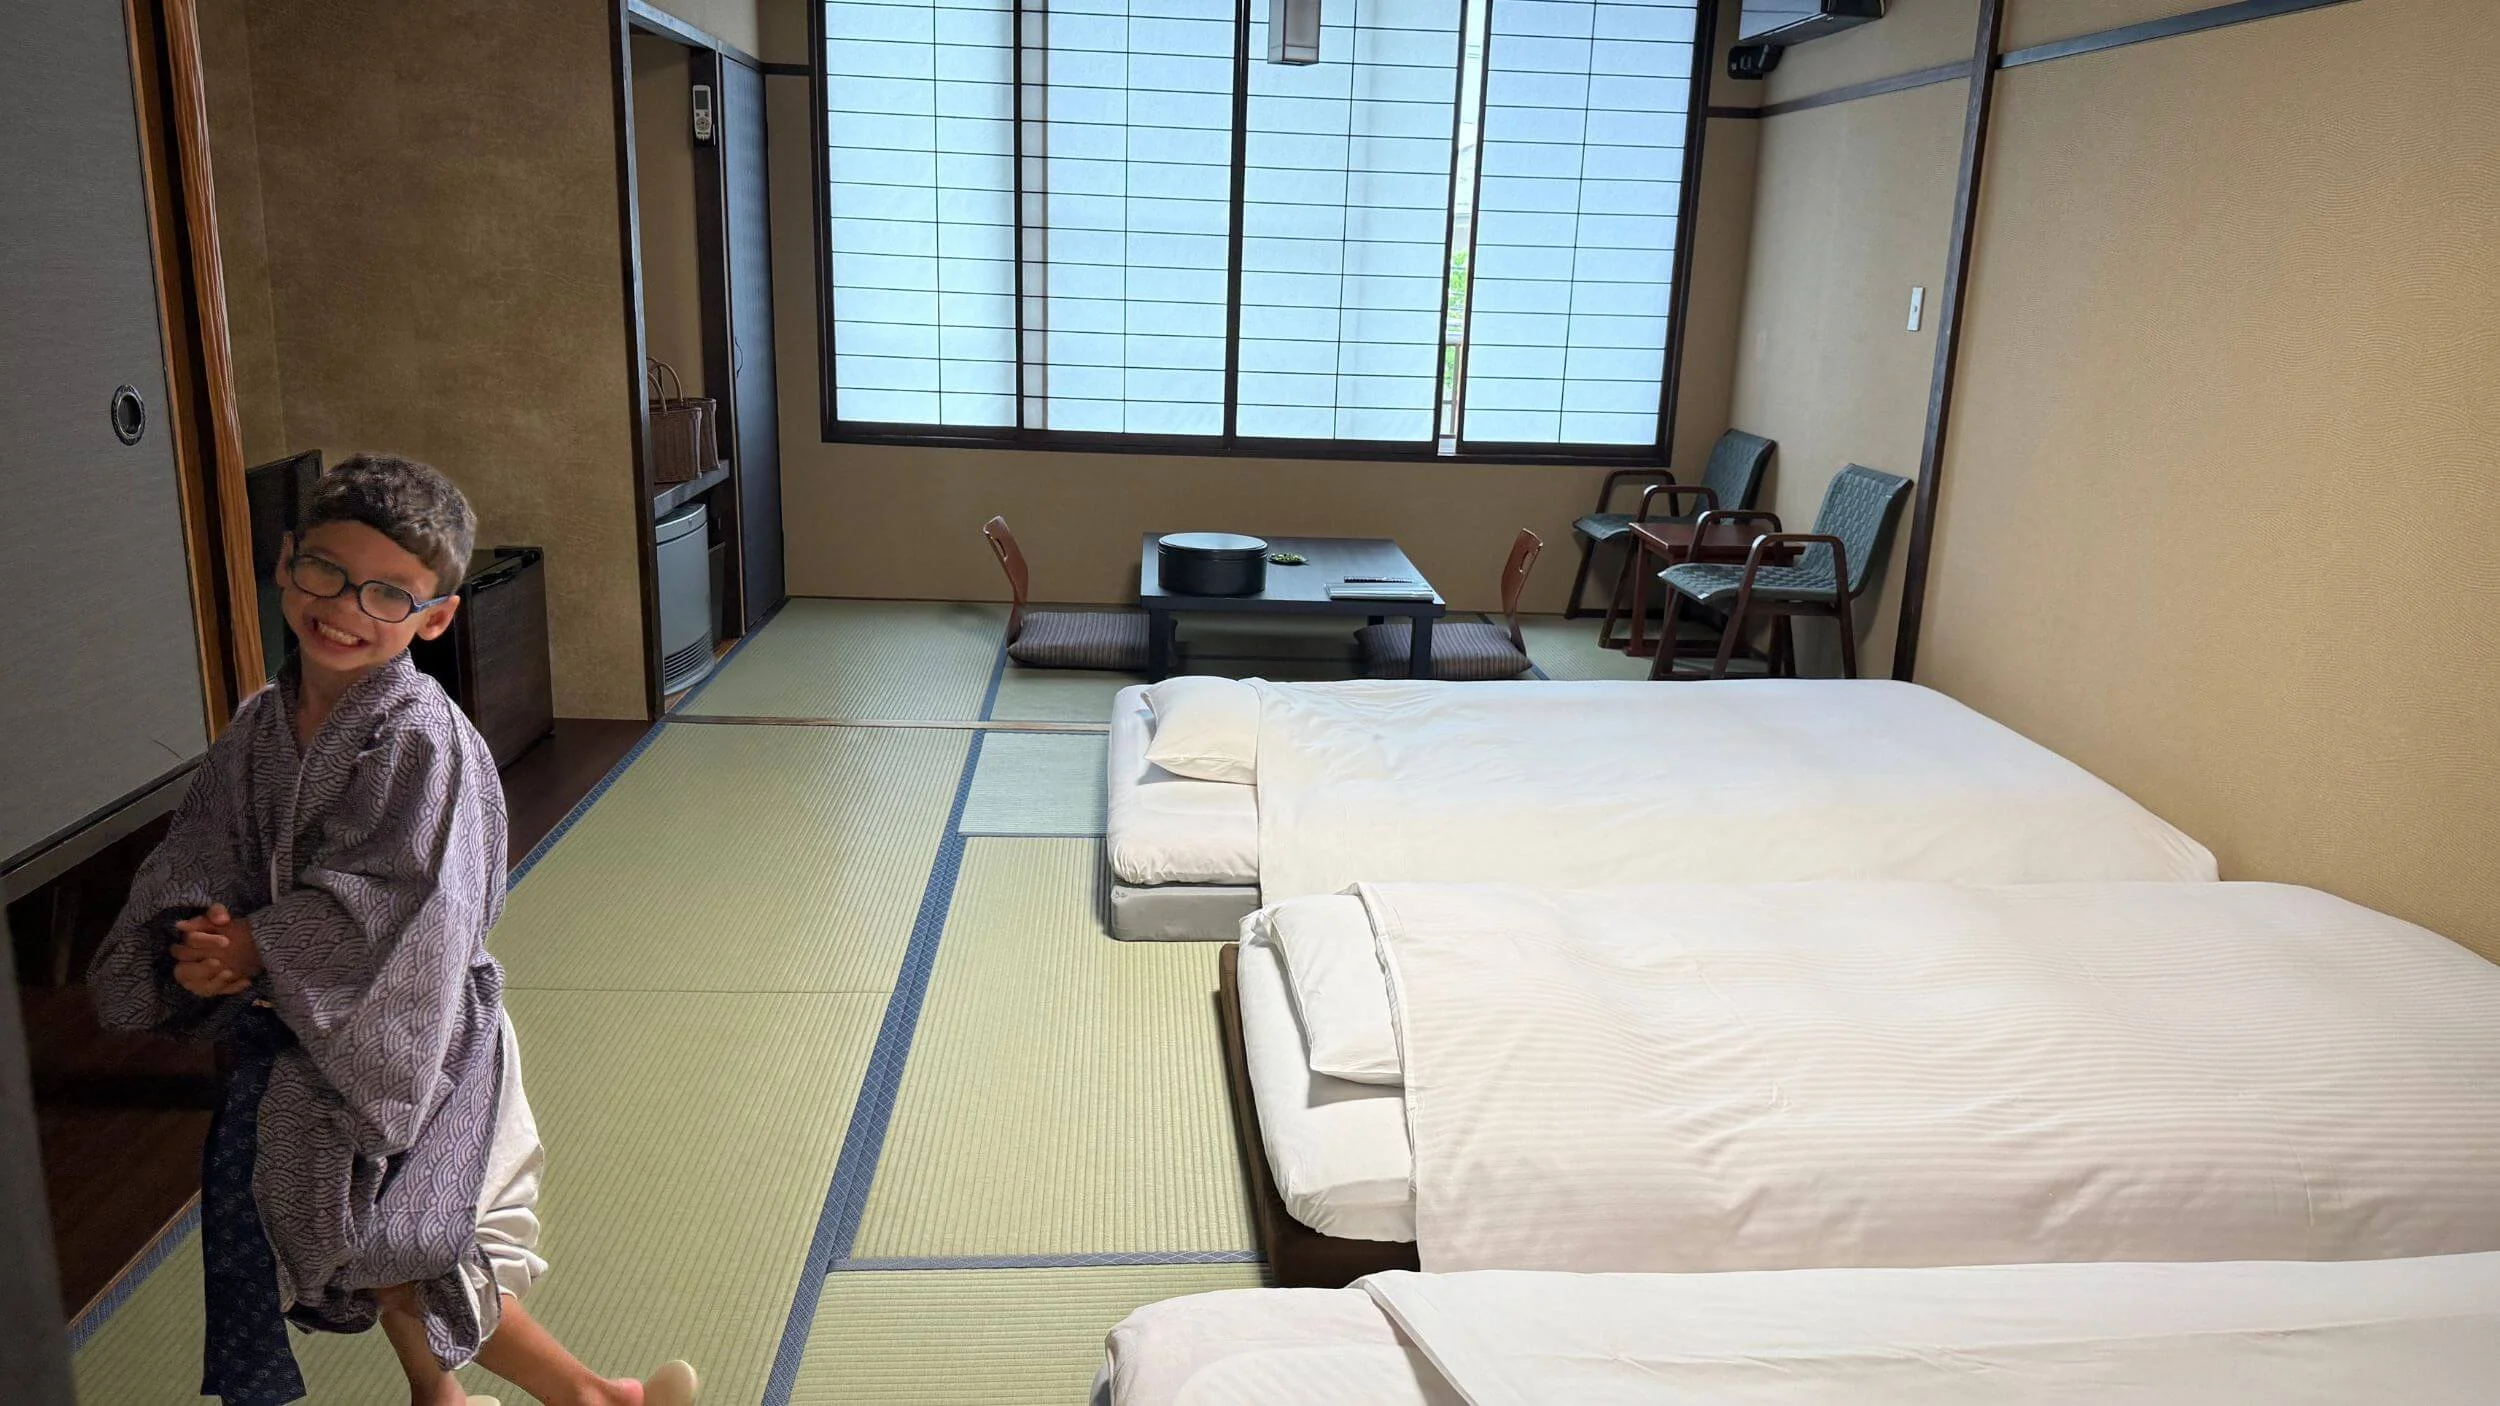
Jackson getting into the ryokan experience in his yukata. One of the fun parts of staying at a traditional Japanese inn.
This post contains affiliate links. If you book or buy through them, we may earn a small commission at no extra cost to you. As an Amazon Associate, we earn from qualifying purchases.
How We Chose Our Hotels in Japan
Choosing hotels in Japan turned out to be one of the most time-consuming parts of planning our trip. Every traveler has different priorities, so before we share where we stayed, we want to explain how we made our decisions and why these hotels were the right fit for our family.
If you are still in the early planning stages of your Japan trip, we recommend starting with our post Our 14-Day Japan Itinerary: Tokyo, Hakone, Kyoto, Hiroshima, Miyajima, Nara & Osaka where we walk through how we chose destinations, balanced sightseeing days, and built a realistic route through Tokyo, Hakone, Kyoto, Hiroshima, Miyajima, Nara, and Osaka.
TL;DR: How We Chose Our Hotels in Japan
Where & how we slept:
Location was our top priority
Comfortable sleeping arrangements mattered more than room size and we prioritized two beds or one larger bed
Room size itself was not important
How we packed & moved:
We packed light (3 carry-ons total)
Luggage forwarding made travel significantly easier
What wasn’t a priority:
Japan felt very safe, so safety was not a major factor in hotel selection
Hotel breakfast wasn’t important to us due to dietary needs
Views weren’t a priority and honestly, almost none of our hotels had one worth mentioning
Non-negotiables: private bathroom, good reviews, and easy train access.
There is no “perfect hotel” , only what fits your priorities.
How Our Priorities Changed
When we first started planning our trip, we searched almost exclusively for family-friendly neighborhoods with parks and playgrounds nearby.
But as we continued building our itinerary, we realized something important:
We weren’t traveling to Japan to spend time in our hotel neighborhoods, we were traveling to explore Japan.
That realization completely changed how we chose every hotel on this list.
Travel Style + Budget Context
Our trip fell somewhere between budget and luxury. We weren’t looking for the cheapest places to stay, but we also weren’t interested in paying for luxury amenities we wouldn’t use. Instead, we prioritized comfortable, well-located hotels that made it easy to explore Japan.
If you are traveling on a tighter budget, there are plenty of excellent hotel options in every city we visited at significantly lower price points.
We are simply sharing exactly how we made decisions for our family and what we personally spent so that a middle-of-the-road travel style is represented. This may be helpful if you are not looking for budget travel, but also not planning a luxury stay.
We also stayed in Hakone and Miyajima for one night each, which added to our total accommodation cost. These were more “experience stays,” and you could easily visit both while staying elsewhere if you’re trying to keep costs down.
Overall, we found accommodations in Japan to offer excellent value for the quality, cleanliness, and convenience we received though as you’ll see below, “excellent value” didn’t mean every hotel was perfect. A few had real trade-offs worth knowing about before you book.
Our Hotel Priorities
1. Location Became the Most Important Factor
We wanted hotels that were within easy walking distance of major train stations and close to food options.
We were only staying in most locations for a few nights, so convenience mattered far more than having extra space or family-focused amenities.
If we had been staying in one city for a week or more, our priorities would have looked very different.
2. Bed Size and Sleeping Arrangements
Because our son was five during this trip, sharing one hotel room worked well for our family.
However, we specifically looked for hotels that either offered:
- two beds, or
- one larger bed
Finding larger beds in Japan can be difficult, as space is limited and rooms are often smaller than what many Americans are used to.
Sleep is a priority for our family, and this setup works best for us. Your ideal configuration will depend on your family size and sleeping needs when deciding on the number of rooms and beds.
One thing that helps in every new hotel room: we bring a portable sound machine on every trip, and it is the one thing we never travel without.
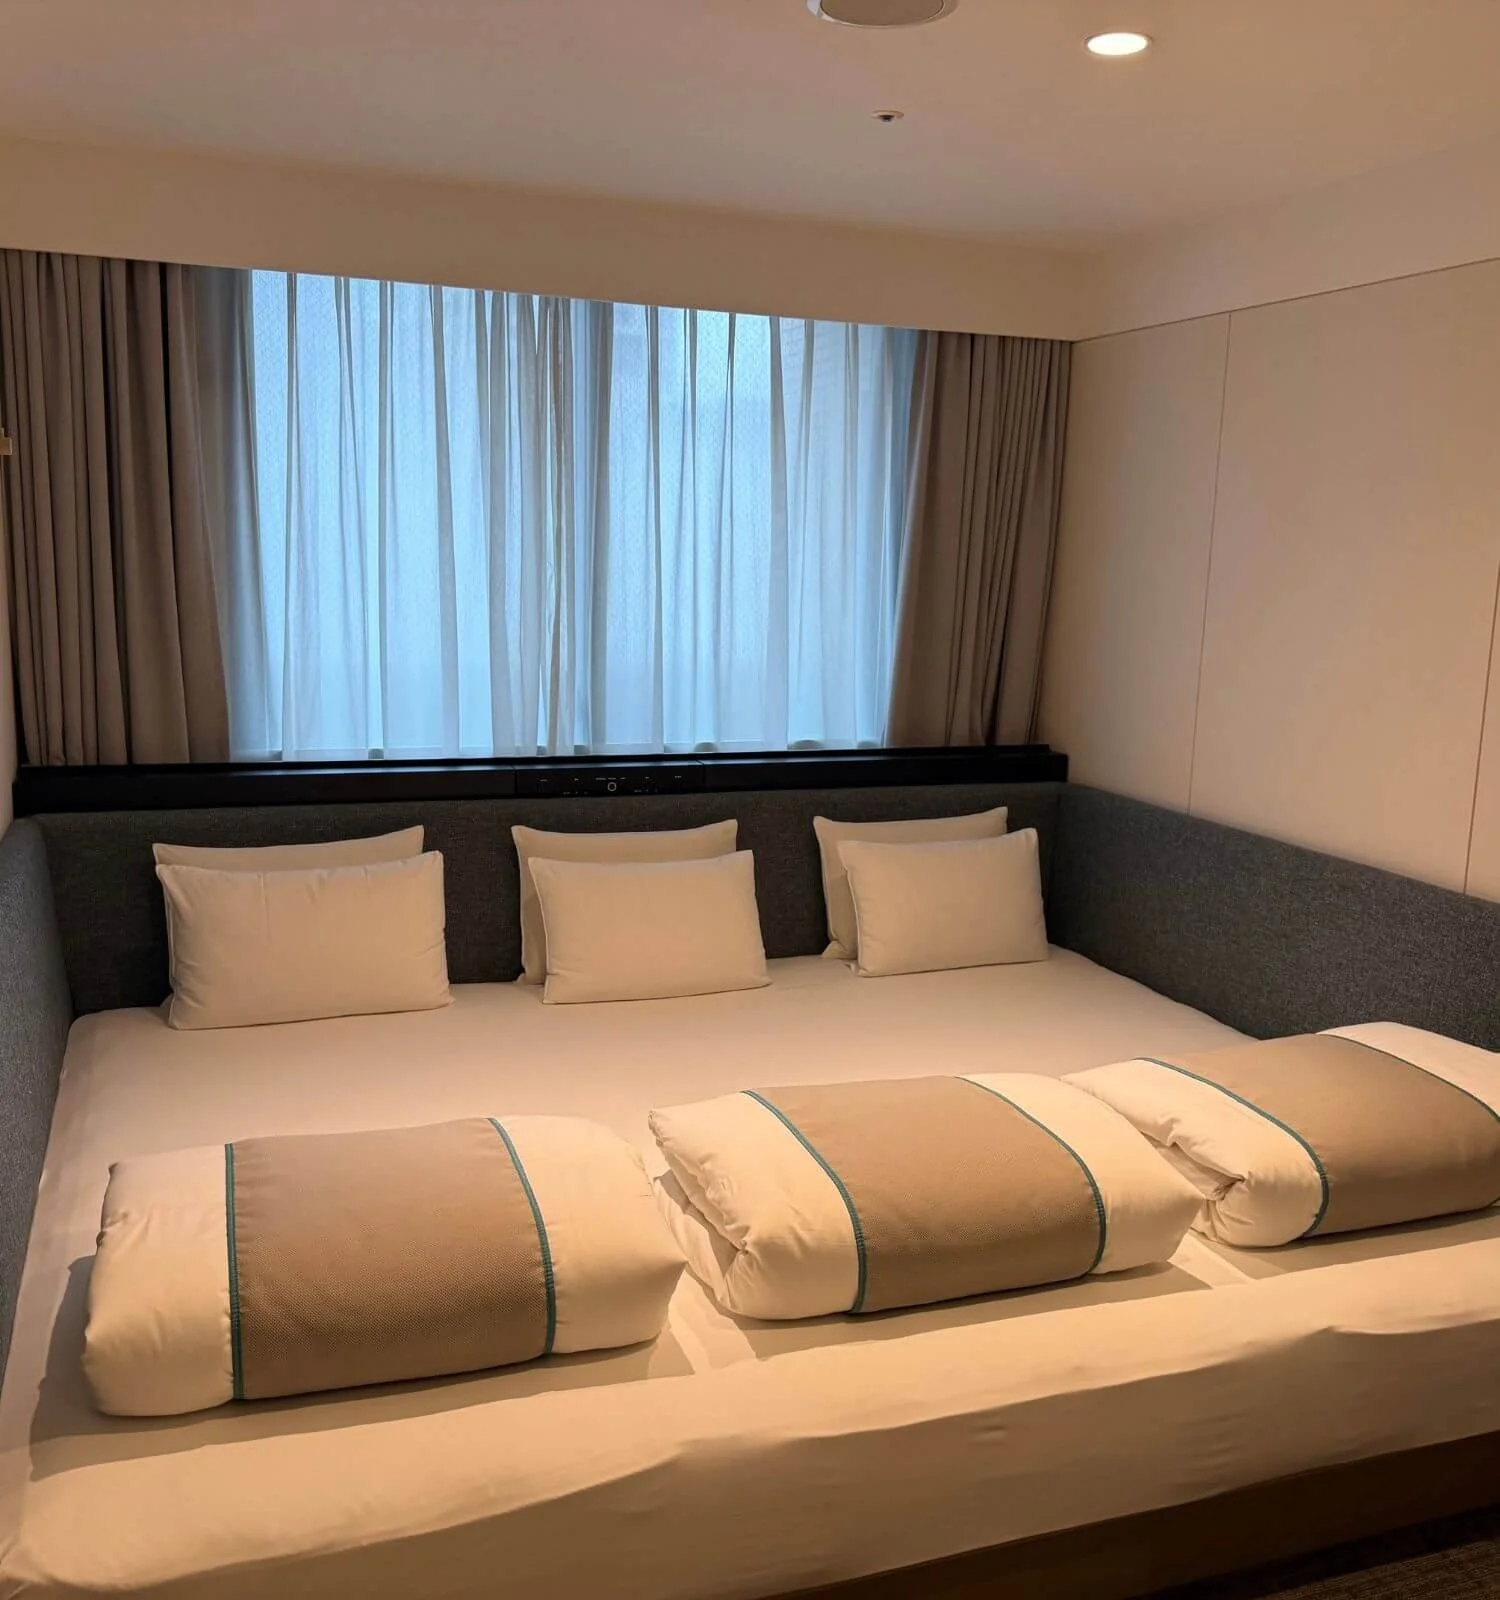
Large beds like this one were a definite priority when searching for hotels during our trip to Japan. This one was found in Osaka at Hotel the Flag Shinsaibashi.
3. Room Size Was Not a Priority
We rarely spent time in our hotel rooms beyond sleeping, showering, and getting ready for the day.
As long as the room was clean and functional, we did not need extra space. That said, “not a priority” doesn’t mean every room felt equally comfortable as a couple of our rooms were noticeably tighter than others, which we’ve called out below since it might matter more to you than it did to us.
Packing Light Made Everything Easier
For our 13-night trip, our family of three traveled with just three carry-on suitcases.
Packing light ended up being one of the biggest factors that made moving between cities easier. If you are curious what we actually packed for two weeks in Japan, including luggage setup, clothing, toiletries, and what we would leave home next time, read our complete guide: What We Packed for Japan (Family of 3, 14 Days, Carry-On Only)
In hindsight, we probably could have packed even less.
One thing we quickly learned is that packing light makes traveling through Japan much easier. Hotel rooms are often compact, and navigating train stations with large suitcases can quickly become exhausting.
Luggage Forwarding (One of Our Best Decisions)
We used luggage forwarding three times:
- Tokyo → Kyoto
- Kyoto → Osaka
- Osaka → Tokyo
For Hakone and Miyajima, we simply packed a small overnight bag with essentials.
This ended up being one of the best travel decisions we made. If we planned another multi-city trip to Japan, we would use luggage forwarding again without hesitation.
Why Luggage Forwarding Worked So Well
Luggage forwarding in Japan was:
- easy
- affordable
- extremely convenient
Instead of dragging suitcases through train stations, we could focus on enjoying our travel days.
Our blog How to Get Around Japan: A First-Time Visitor’s Guide to Trains, Suica Cards, Google Maps & More covers exactly how we used trains, Suica cards, Google Maps, taxis, the Shinkansen, and luggage forwarding to navigate 14 days in Japan.
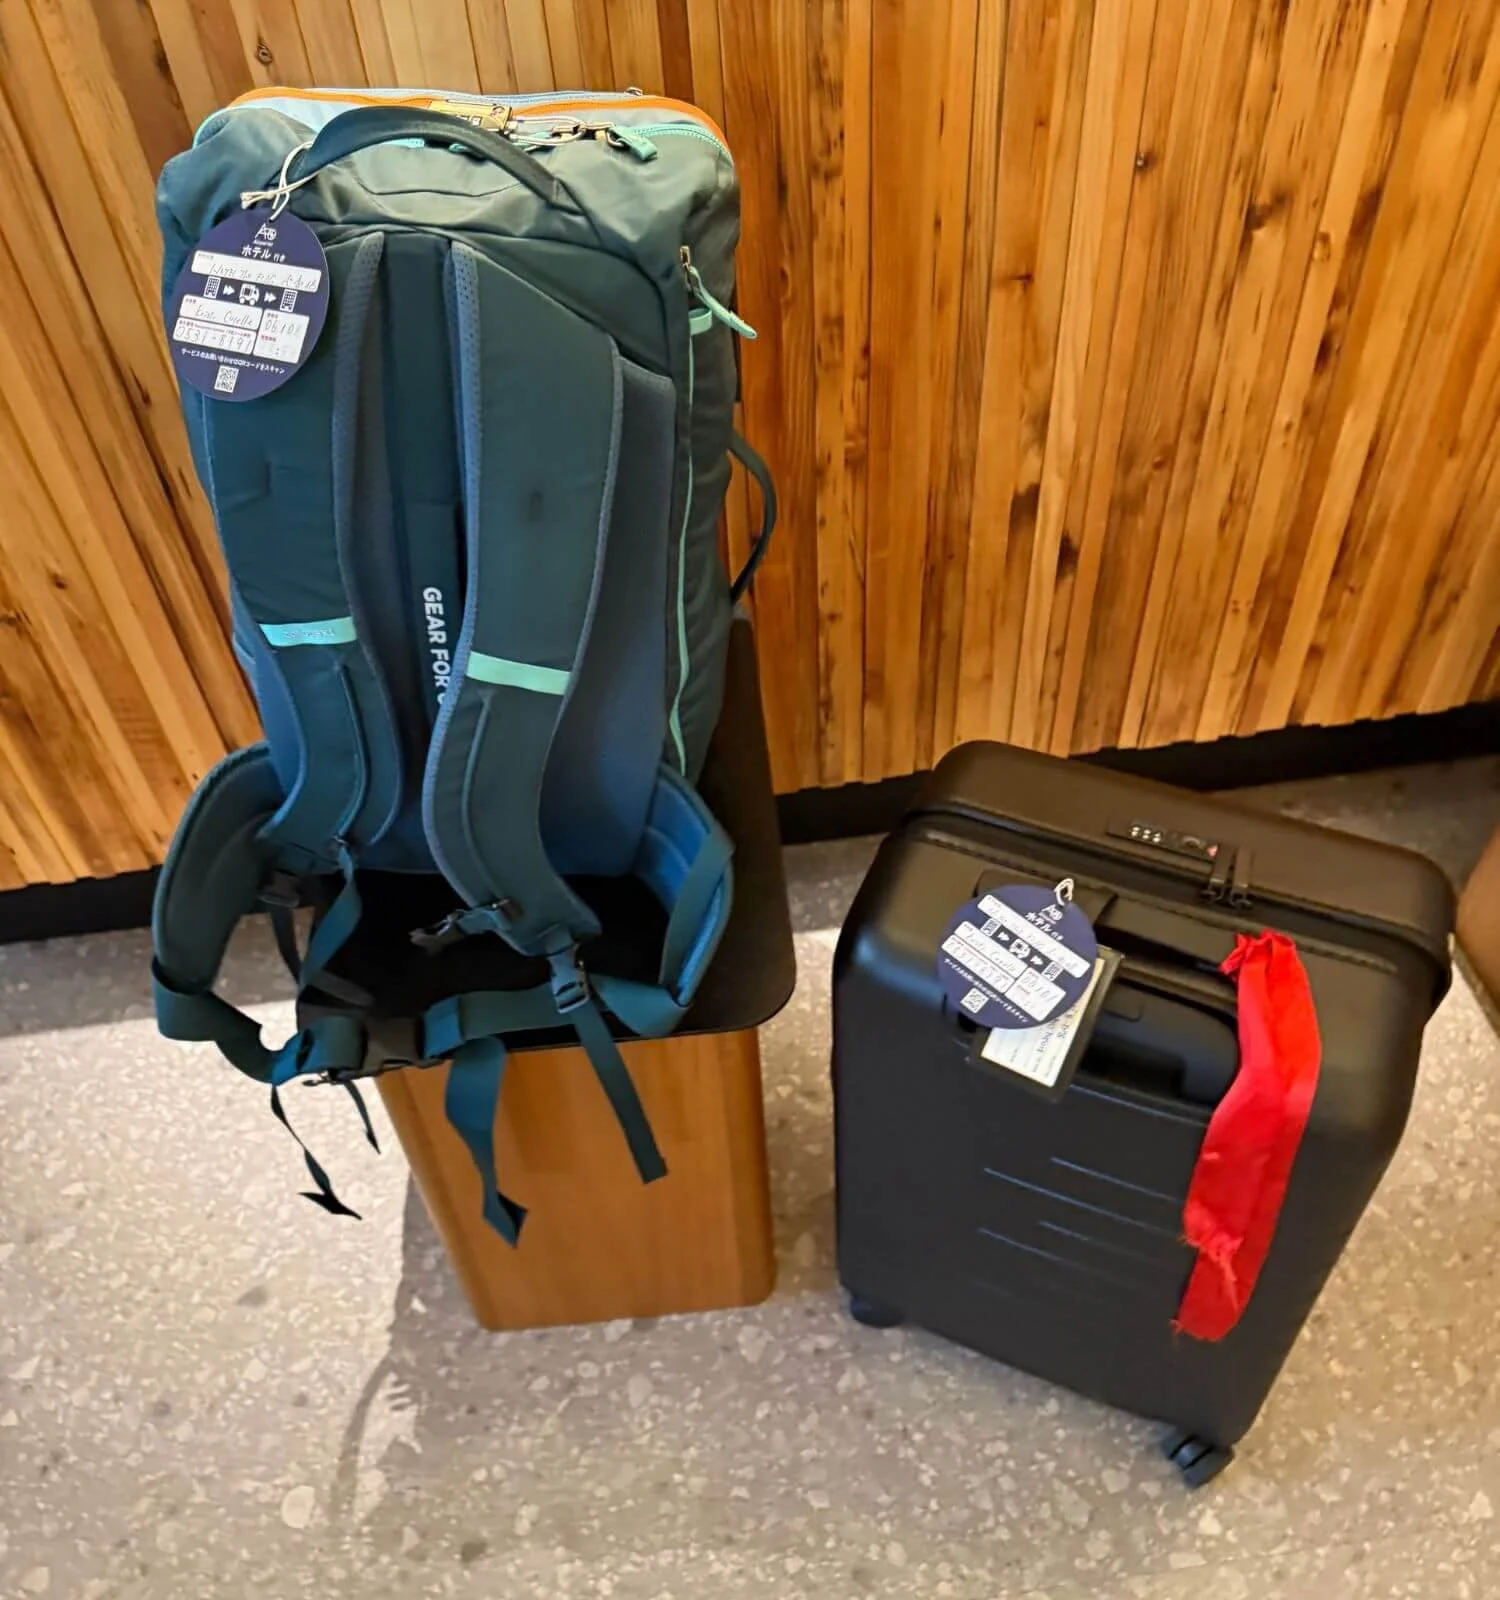
Important Note
Every hotel handles luggage forwarding differently and this genuinely varied enough between our own hotels that it’s worth planning around.
In both Tokyo and Kyoto, we needed to have our bags ready for pickup one full day before we needed them at the next hotel so, if you’re only staying one or two nights, you may need to hand off your bags almost as soon as you’ve unpacked them. In Osaka, by contrast, we could simply drop bags off the morning of checkout, which was far more flexible.
We recommend asking the front desk about timing as soon as you check in, and factoring the stricter window into how you pack for short stays.
Other Hotel Requirements
Beyond location, there were a few non-negotiables for us:
- Private bathroom
- Strong guest reviews (generally 4 stars or higher)
- Easy access to public transportation
- Plenty of nearby food options
Not a Priority
Hotel breakfast was not important for us because we follow a gluten-free diet, and most hotel breakfasts in Japan did not work for us. We skipped hotel breakfast entirely at every stop on this trip opting instead for a breakfast of items from 7-Eleven, Lawsons or Family Mart.
Traveling gluten-free in Japan required more planning, especially in smaller destinations like Hakone and Miyajima.
Read More: Is Japan Gluten-Free Friendly? Our Honest Experience Traveling With Dietary Restrictions
Read More: How to Eat Gluten-Free in Japan: What We Learned After 14 Days
How We Booked Our Hotels
There are a huge number of great hotel options in Japan.
We booked our hotels via:
-Booking.com
-Expedia.com
-Priceline.com
We used these sites because they allowed us to filter based on:
- location
- bed configuration
- price
- reviews
- cancellation flexibility
We also recommend comparing hotel locations carefully before booking. A hotel that looks inexpensive can become less convenient if it requires long train rides every day. Location was one of the biggest factors we considered when building our itinerary.
Booking Strategy That Helped
We often booked flexible-rate hotels early, then continued checking prices and availability.
In several cases, we rebooked when better options became available.
Timing Tip
If you are traveling during cherry blossom season, Golden Week or other busy times, book early.
We traveled in early summer and booked in January. Looking back, we probably could have waited a little longer, but booking early gave us more choices and peace of mind.
Our Japan Accommodations at a Glance
We stayed in 6 hotels across 13 nights in 5 destinations.
Accommodation Table
Total: $2,353
Average: ~$181/night
These are the prices we paid for our late May 2026 stay. Rates change by season, so check current prices with the links below.
Tokyo: Shibuya Tokyu REI Hotel (4 Nights)
Cost: $701 for 4 nights
Booking Method: Booking.com
Why We Chose It
Our top priority in Tokyo was staying somewhere with excellent transportation access, and this hotel checked every box. Located just a short walk from Shibuya Station, it made getting around the city incredibly easy while also putting us within walking distance of restaurants, shopping, and several of Tokyo’s most popular attractions.
It also met one of our biggest room requirements by offering two beds (one larger twin and one standard twin), which worked well for our family of three.
What We Liked
Excellent location just a short walk from Shibuya Station
Less than a five-minute walk to Shibuya Sky
Surrounded by restaurants, convenience stores, and shopping
Bed configuration worked well for our family
Surprisingly quiet inside the room despite being in the heart of Shibuya
We chose our Tokyo hotel partly because it made exploring some of our favorite neighborhoods easy, including Shibuya, Asakusa, and TeamLab Borderless.
What to Know Before You Book
This was, honestly, the smallest room of any hotel on our trip, and it felt like the most dated of the six. If you’re sensitive to compact spaces, it’s worth going in with the right expectations. This is Shibuya, and space comes at a premium. There’s also no onsen here, which some of our other hotels had.
The neighborhood itself gets genuinely lively at night with lots of people heading out to bars and back from a night out, right outside. It never affected us, since we were reliably in bed early with a five-year-old, but if you’re a light sleeper or want a quieter street, it’s worth factoring in.
Would We Stay Here Again?
Yes. The location alone made this one of the best hotel choices we made in Tokyo, and the small room and dated feel were trade-offs we’d happily make again for how easy it made getting around the city.

Just a short walk from Shibuya Station. Location was the biggest factor in choosing this hotel, and it paid off every day of our stay.
Hakone: Mount View Hakone (1 Night)
Cost: $315 for 1 night
Booking Method: Directly with Mount View Hakone
Why We Chose It
Staying at a traditional ryokan was one of our biggest priorities for this trip, and Mount View Hakone was the only ryokan we found that could accommodate our gluten-free diet.
If you have dietary restrictions, be sure to notify the hotel well in advance. They prepared both a traditional Japanese dinner and breakfast that met our dietary needs, which made the experience even more memorable, though it’s also part of why this was the ryokan we chose rather than a wider search across Hakone’s options.
What We Loved
Traditional kaiseki-style dinner and Japanese breakfast, both adapted for gluten-free
Public onsens, separated by gender
The option to reserve a private onsen for just our family
In-room massage services
Peaceful atmosphere after the energy of Tokyo
Staff that were accommodating with dietary restrictions
Keep in mind that the price of our ryokan stay included dinner and breakfast.
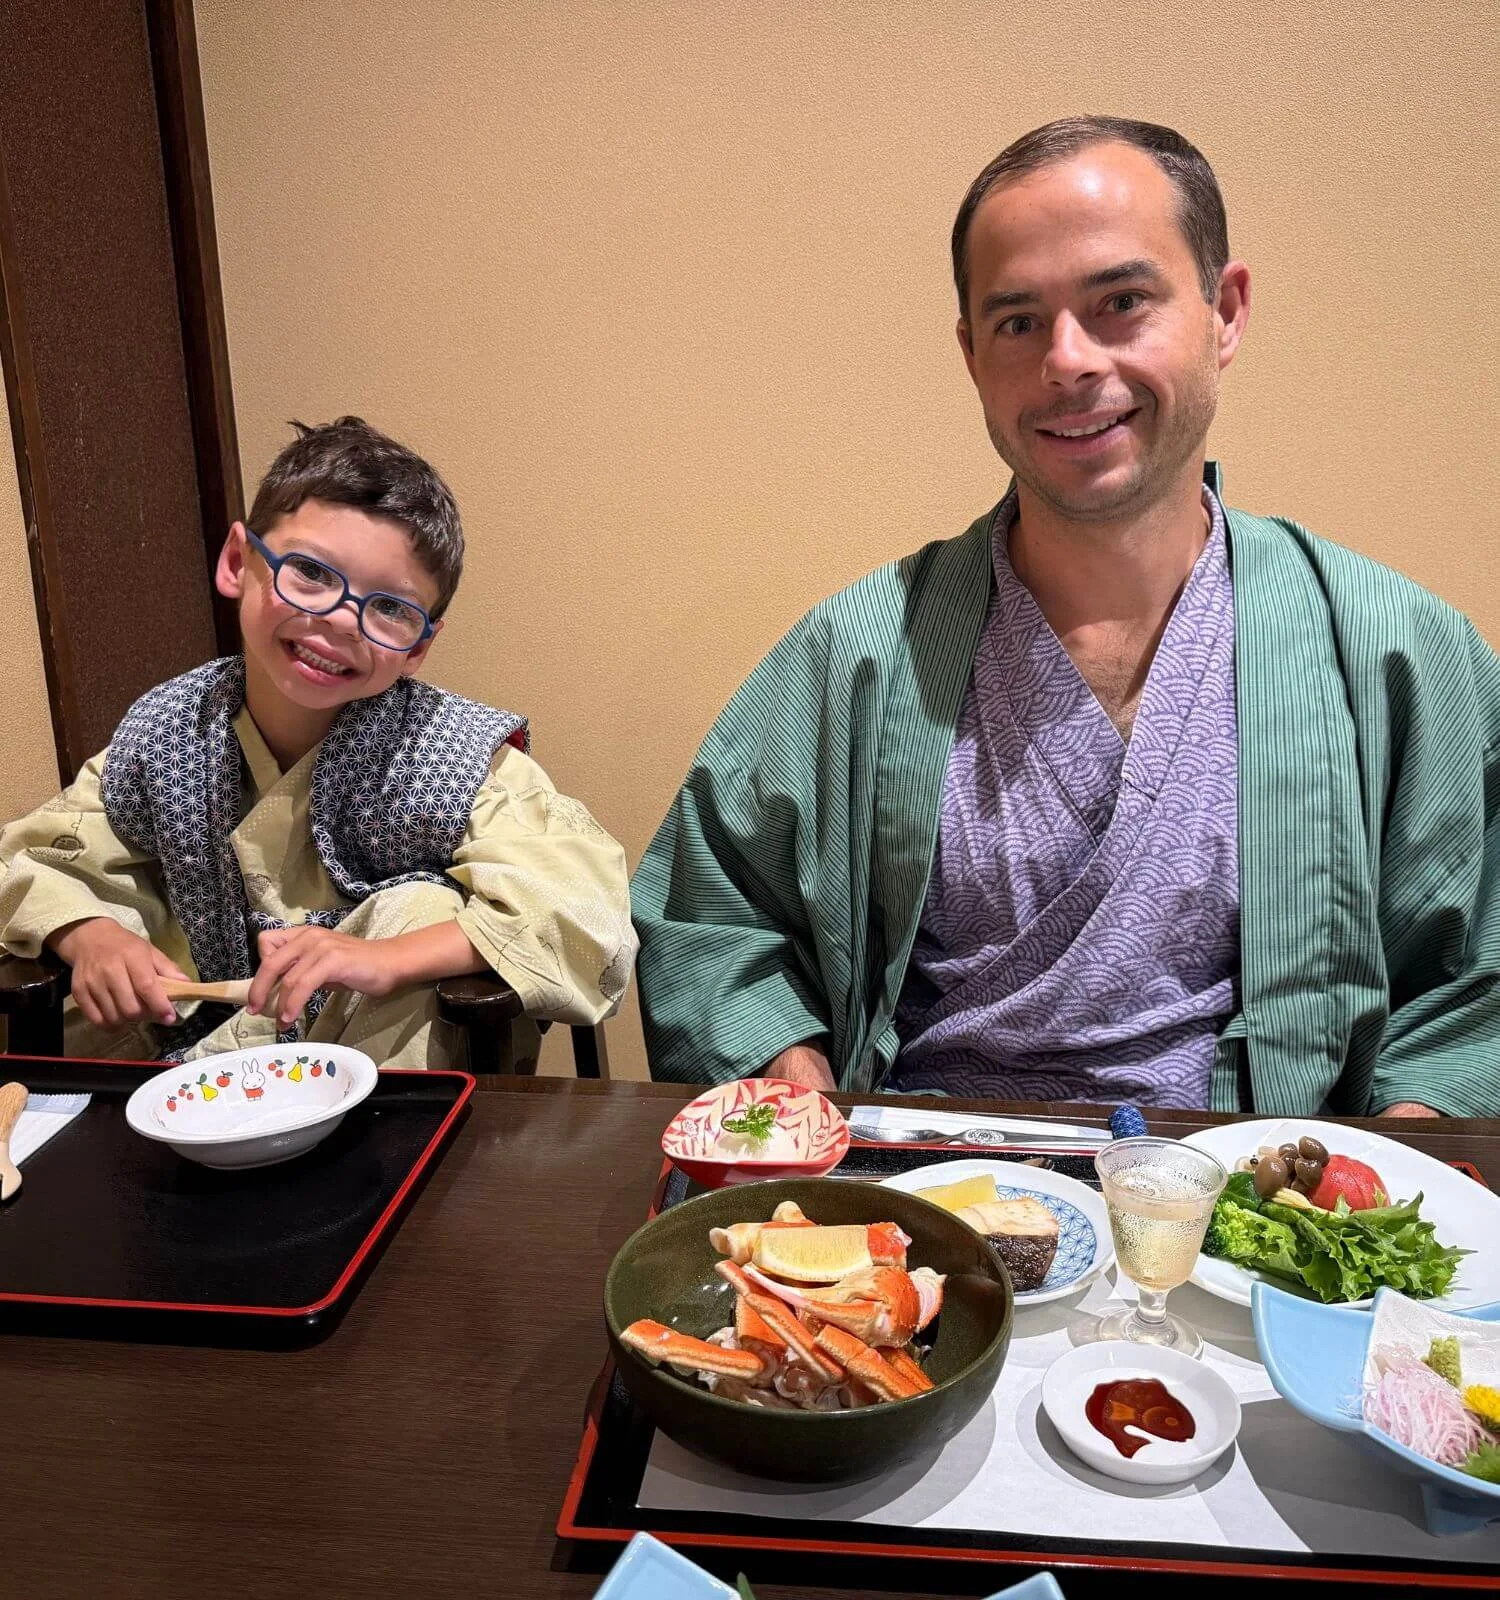
Our Hakone ryokan accommodated our gluten-free needs, so we could experience a traditional Japanese kaiseki dinner and breakfast.
What to Know Before You Book
The private onsen and in-room massages both cost extra, and importantly, neither can be reserved ahead of time. Both get booked quickly, so if either is something you want, ask at the front desk as soon as you check in rather than waiting until later in the day.
The ryokan itself felt a bit dated, similar to our Tokyo hotel. We chose it primarily because it could accommodate our dietary needs, not because it was the top-rated ryokan in the area. We’d assume there are more luxurious options elsewhere in Hakone, so if a genuinely high-end ryokan experience is what you’re after, we’d suggest comparing the picks in our Where to Stay in Hakone post.
Read More: Is Hakone, Japan Good for Kids? Our Honest Take
Read More: What We Spent in Hakone: A Real Cost Breakdown
Read More: Where to Stay in Hakone With Kids: Our Honest Take
Would We Stay Here Again?
Yes, largely because of the dietary accommodations and the experience itself. If you don’t have the same gluten-free constraint we did, it’s worth comparing this against other Hakone ryokans rather than assuming it’s the best fit, but for us, it delivered on the parts that mattered most.
Kyoto: Hotel Grand Bach Kyoto Select (3 Nights)
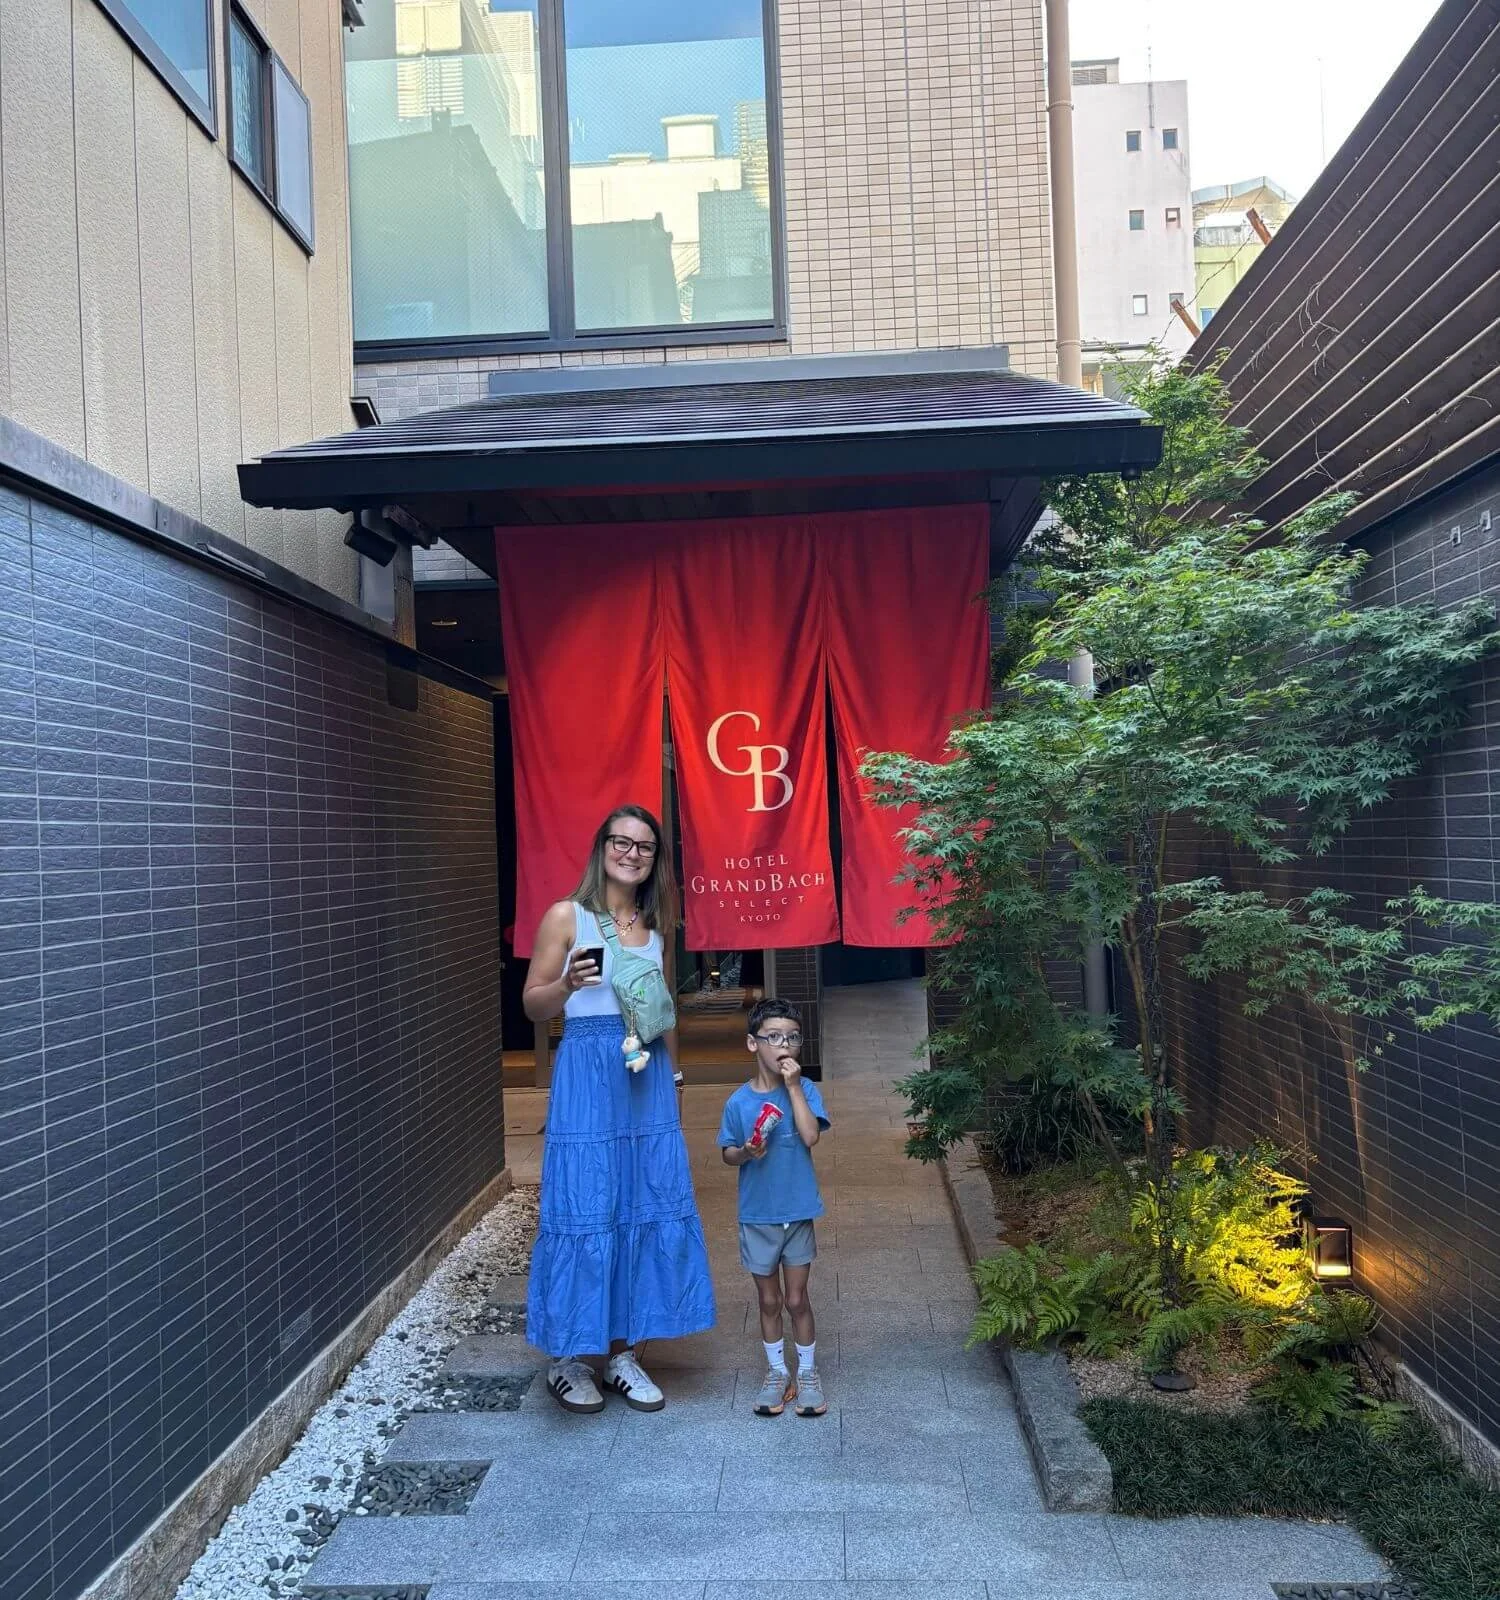
One of our favorite hotels in Japan. It checked all our boxes for location, comfort, and a great place to come back to after a day of exploring Kyoto.
Cost: $390 for 3 nights
Booking Method: Booking.com
Why We Chose It
We chose Hotel Grand Bach Kyoto Select for its central location, easy access to public transportation, and consistently strong reviews. It was well positioned for exploring Kyoto while still providing a quiet place to unwind after long sightseeing days.
What We Loved
Excellent location within walking distance of restaurants, shopping, and public transportation
Comfortable king bed
Hotel onsen, the perfect place to relax after walking 18,000+ steps each day
Laundry facilities, so we could wash clothes while enjoying the onsen, making it an easy, efficient part of our evening
A drink token for each night of our stay, redeemable for a free drink of our choice: wine, other alcohol, soda, tea, etc.
One of the best hotel showers of the trip. A small detail, but one we appreciated after long days of sightseeing
The combination of location, thoughtful amenities, and comfortable rooms made this one of the easiest hotels to settle into during our trip.
This location also worked well for our Kyoto sightseeing days, including temples, neighborhoods, and food stops.
What to Know Before You Book
This is genuinely the closest we came to a hotel with no real complaints. The room was on the smaller side, though noticeably bigger than our Tokyo room and the onsen here is public rather than private, separated by gender, so if you’re not comfortable with a shared bathing space, that’s worth knowing going in.
The same luggage forwarding window from our Tokyo hotel applied here too, so plan your packing around if your stay is short.
Would We Stay Here Again?
Absolutely, without hesitation. The onsen, laundry facilities, drink tokens, and central location made it an ideal base for exploring Kyoto.
Read More: What We Spent in Kyoto: A Real Cost Breakdown
Read More: Is Kyoto Good for Kids? Our Honest Take
Read More: Where to Stay in Kyoto With Kids: Our Honest Take
Miyajima: Hotel Miyajima Villa (1 Night)
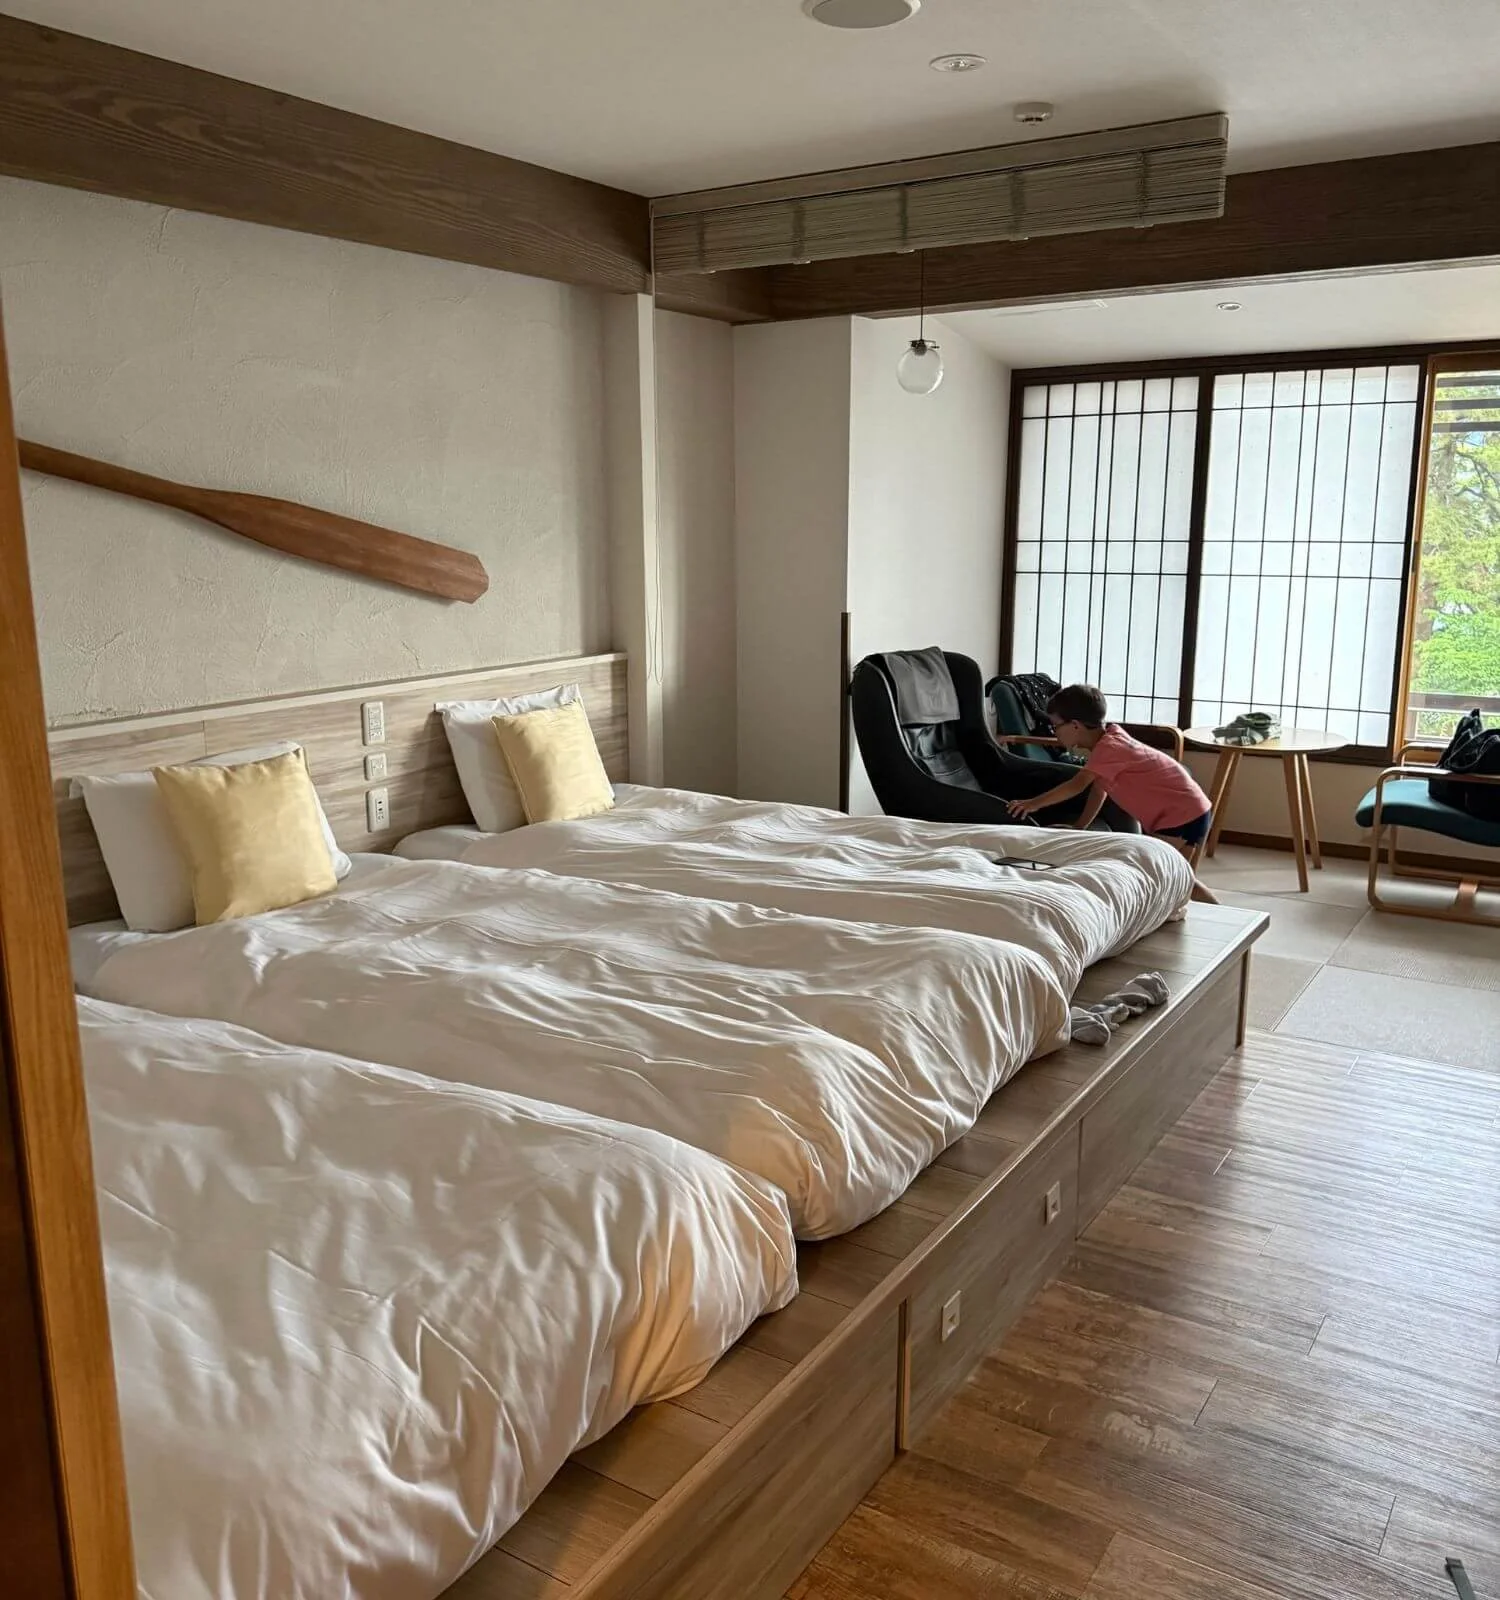
Staying on Miyajima was a bit of a splurge, but the spacious room, beautiful views, and chance to stay on the island made it well worth it.
Cost: $401 for 1 night
Booking Method: Booking.com
Why We Chose It
Overnight accommodations on Miyajima are limited, so we wanted a hotel that offered the best combination of location, comfort, and value. Hotel Miyajima Villa stood out for its proximity to the ferry, spacious rooms, and excellent reviews.
What We Loved
Spacious room with enough space for all three of us to spread out
We each had our own bed, which made for a great night’s sleep
Public onsen with beautiful views of the island
Complimentary tea, drinks, and ice cream in the lobby
Massage chair in the room
Just a short walk from the ferry terminal
The peaceful atmosphere after the last day-trippers left the island
One of the highlights of staying overnight on Miyajima was experiencing the island after the crowds disappeared. Walking the quiet streets in the evening and early the next morning felt completely different from the busy daytime atmosphere and made the overnight stay feel worthwhile.
What to Know Before You Book
This was the priciest hotel on our trip relative to what you get, and one detail worth knowing if you’re traveling with young kids: children under 6 aren’t allowed in the onsen here. If that’s a highlight you’re hoping to share as a family, it won’t work at this property for your younger kiddos.
Budget Tip: If you’re trying to keep costs down, Hiroshima makes an excellent home base. Ferries run frequently throughout the day, making it easy to visit Miyajima without spending the night. However, if your budget allows, we’d absolutely recommend staying on the island for at least one night to experience it after the crowds leave.
Would We Stay Here Again?
Yes. Even with the higher price and the onsen age restriction, staying overnight on Miyajima ended up being one of our favorite experiences of the trip, and this hotel’s location and peaceful setting made it well worth the splurge.
Read More: Is Hiroshima & Miyajima Good for Kids? Our Honest Take
Read More: What We Spent in Hiroshima & Miyajima: A Real Cost Breakdown
Read More: Where to Stay in Miyajima With Kids: Our Honest Take
Osaka: HOTEL THE FLAG Shinsaibashi (3 Nights)
Cost: $409 for 3 nights
Booking Method: Booking.com
Why We Chose It
We chose HOTEL THE FLAG Shinsaibashi because it offered an excellent combination of location, comfortable sleeping arrangements, and consistently strong reviews. It was within walking distance of many of the restaurants and attractions we wanted to visit while still being close to public transportation.
What We Loved
Prime location with easy access to restaurants, shopping, and attractions
A genuinely large bed - big enough that it took up most of the room, which we actually liked
Laundry facilities (perfect for longer trips)
Complimentary espresso machine in the lobby
Free stroller rental (other items are also available)
Water bottle filling station
Small library with books for both adults and children
Modern, clean rooms
Friendly and welcoming staff
Flexible luggage forwarding - bags could be dropped off the morning of checkout, rather than days in advance
One of the unexpected highlights was the lobby. Between the free espresso machine and the small library, it was a comfortable place to relax for a few minutes before heading out each day.
What to Know Before You Book
The bed being this large is a genuine trade-off, not just a perk, it dominates the room, so if you’d rather have more open floor space than a bigger bed, this may not be the configuration for you. There’s no onsen at this hotel, and like almost every hotel on our trip, don’t expect any kind of view.
Would We Stay Here Again?
Absolutely. This ended up being one of our favorite hotels of the trip. The combination of location, value, thoughtful amenities, flexible luggage forwarding, and exceptionally kind staff made it an easy place to recommend.
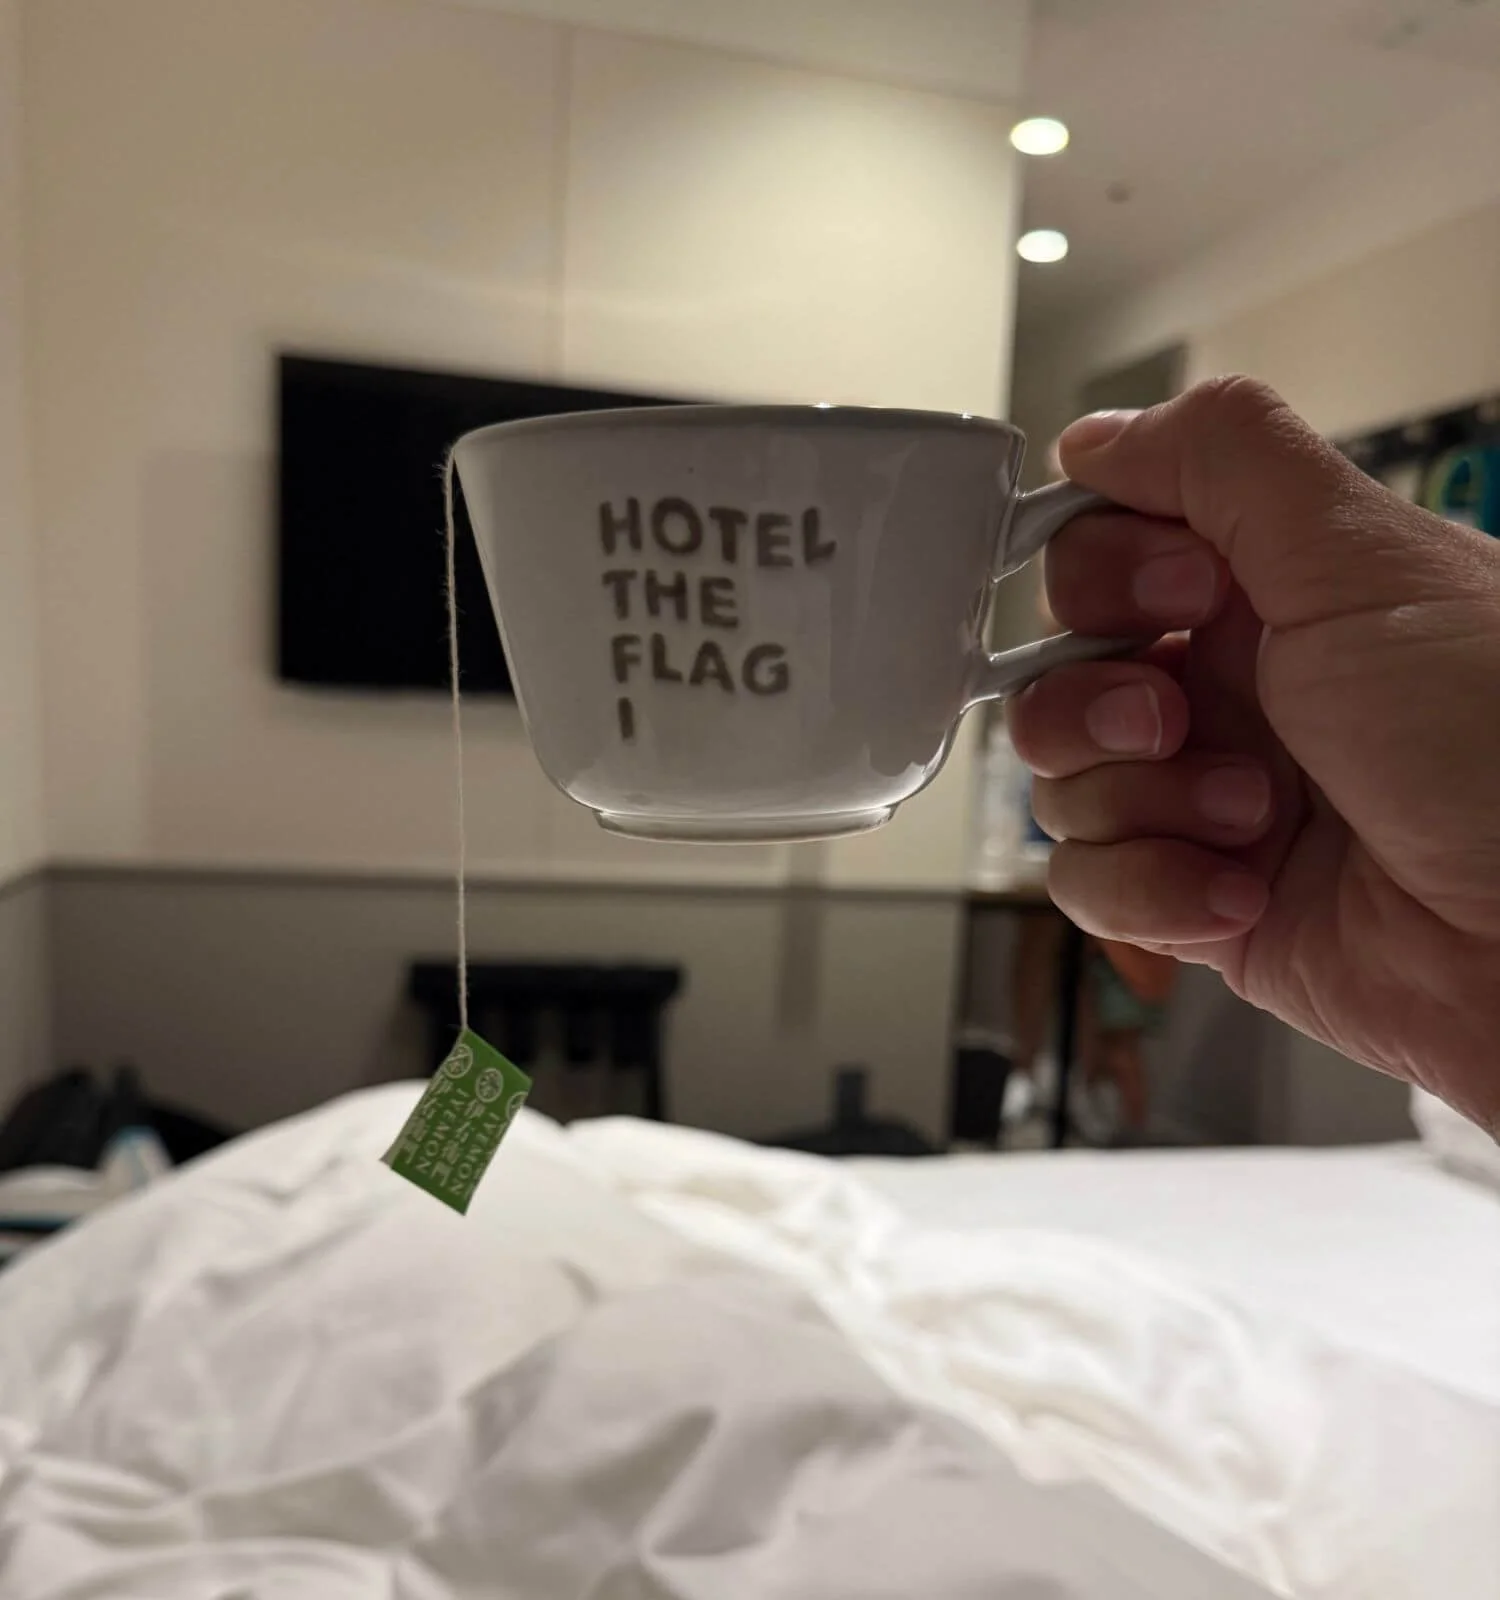
A quiet moment in our Osaka hotel with a cup of tea and a little time to recharge. After long days of exploring, having a comfortable place to slow down was worth every bit of it.
Tokyo (Haneda Airport): Villa Fontaine Grand (1 Night)
Cost: $137 for 1 night
Booking Method: Expedia.com
Why We Chose It
We booked this hotel purely for convenience before our departure flight. Staying at Haneda Airport allowed us to enjoy one final morning in Tokyo without worrying about navigating the train system with luggage on departure day.
What We Loved
Direct connection to Haneda Airport Terminal 3
Easy access to the train station for one last trip into Tokyo
Convenient luggage storage after checkout
Public onsen available on-site (although we didn’t have time to use it)
Stress-free departure morning
Being able to leave our luggage at the hotel, spend a few more hours exploring Tokyo, and return just before our flight made our final day feel much more relaxed.
What to Know Before You Book
Don’t expect anything special here, the room was basic and a bit dated, closer to a standard airport hotel you’d find in the US than anything distinctly Japanese. The hotel is also busy, and while desk staff are present, you’re encouraged to use automated machines for check-in and check-out. The luggage/cloak line can get long, so if you’re working with a tight flight timeline, build in extra buffer.
Would We Stay Here Again?
Yes. We booked this one purely for logistics, not for the room itself, and on that front it delivered exactly what we needed. For the price, convenience, and peace of mind, this was a fantastic choice, just know you’re paying for location and logistics, not for the room.
Read More: Where to Stay Near Haneda Airport With Kids: Our Honest Hotel Review
A Note About Traveling with Kids in Japan
If you’re traveling with young children, one thing worth knowing is that many hotels in Japan allow children under six to stay free when sharing existing bedding with their parents. Policies vary by property, however, especially if breakfast or other meals are included, so it’s always worth confirming the details before booking.
Also worth checking ahead: onsen age restrictions vary by property, as we found out at Miyajima. If a shared onsen experience is something your family is looking forward to, confirm the minimum age before you book.
For our family, sharing one room worked well and helped keep accommodation costs reasonable throughout the trip.
Read More: Japan With Kids: Everything I Wish I Knew Before Our Trip
Final Thoughts
The biggest lesson we learned while planning accommodations in Japan is that there isn’t a single “best” hotel, only the hotel that’s the best fit for your travel style.
For us, that meant prioritizing:
- Convenient locations near train stations
- Comfortable sleeping arrangements
- Easy logistics between destinations
- Clean, well-reviewed hotels over luxury amenities
Those choices made our 13-night, multi-city itinerary feel much less stressful and gave us more time to enjoy Japan instead of worrying about transportation or long walks with luggage.
None of our hotels were flawless. Smaller rooms in the big cities, a dated feel at two of them, no onsen at a couple, luggage forwarding windows that vary more than you’d expect. But every trade-off was one we’d make again, because we understood what we were prioritizing and why.
If you’re planning a similar route through Tokyo, Hakone, Kyoto, Hiroshima, Miyajima, Nara, and Osaka, we hope this breakdown with trade-offs included gives you a realistic starting point for choosing accommodations.